Standard whip-finish - step-by-step


 HOME
 About me
 On the bench
 Step-by-step
 Fly Swaps
 Friends Flies
 Archive
 Friends
 Links
 Email


 Finger whip-finish  Whip-finish index  Matarelli whip-finish

A step at a time:

STANDARD WHIP-FINISH

PDF print version

Standard whip-finish


Step 1
Standard whip-finish - Step 1

Come in with the whip-finisher from behind. Catch the thread with the top hook and the lower hook.


Step 2
Standard whip-finish - Step 2

Rotate the tool 180 degrees clockwise and move it up to a horizontal position, keeping the top hook under the hook.


Step 3
Standard whip-finish - Step 3

Here's the "whip-finish triangle". Now you're ready to start.


Step 4
Standard whip-finish - Step 4

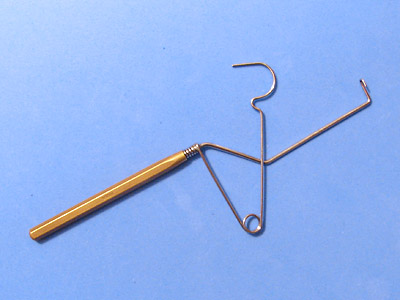
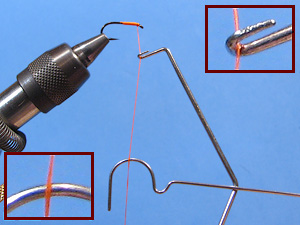
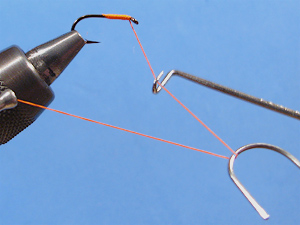
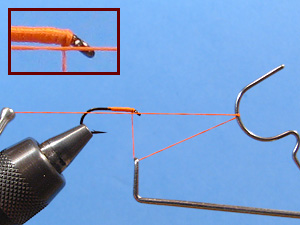
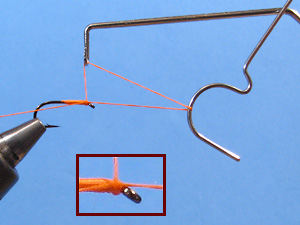
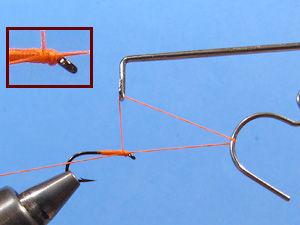
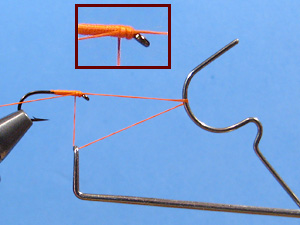
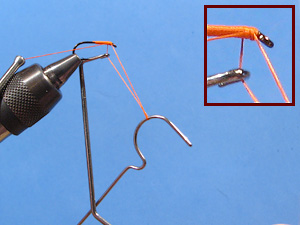
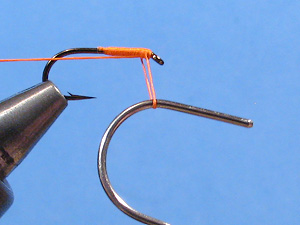
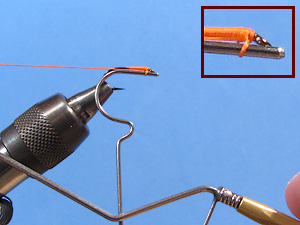
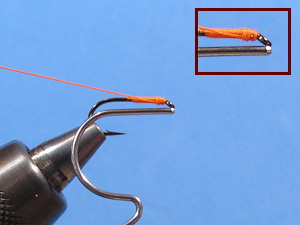
Now rotate the tool so the hook will wrap the thread for you. With a top hook that is offset, it's enough with holding the handle inline with the hook and rotating the tool in the hand. With no actual "hand wrapping" and the handle lined up with the hook shank, the thread will stay in place in the top hook.


Step 5
Standard whip-finish - Step 5

First wrap.


Step 6
Standard whip-finish - Step 6

Let's start another.


Step 7
Standard whip-finish - Step 7

And finish that.


Step 8
Standard whip-finish - Step 8

Bring the tool down to a vertical position, keeping the thread through both hooks.


Step 9
Standard whip-finish - Step 9

Let the top hook leave the loop.


Step 10
Standard whip-finish - Step 10

Start pulling the bobbin and tighten the loop.


Step 11
Standard whip-finish - Step 11

All the way up.


Step 12
Standard whip-finish - Step 12

Let the second hook leave, tighten... and knot done!!


Copyright 2008-2015 © SwedneckFlyFishing