


|
A step at a time:
MARABOU MUDDLER
PDF print version
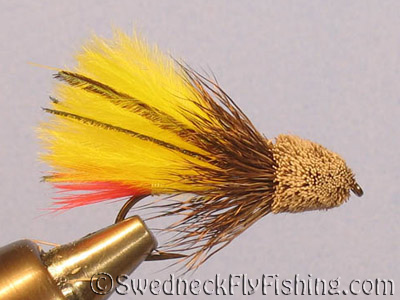
| Hook: |
Streamer
or Long Nymph, #6-12 |
|
Thread: |
8/0,
black - GSP for head |
|
Tail: |
Marabou
tips, red |
|
Body: |
Mylar
tinsel, silver |
|
Ribbing: |
French
tinsel, silver |
|
Wing: |
Marabou,
yellow + 2 peacock herls on each side |
|
Head/collar: |
Deer
hair, spun |
(Full-size pictures on click.)
Step 1
|
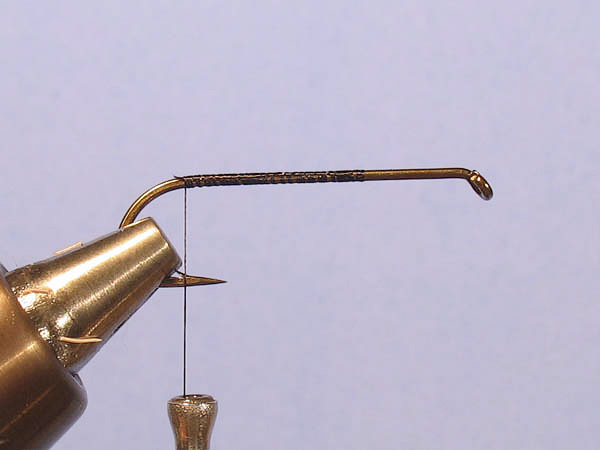
Mount a
hook in the vise and cover the rear 2/3 of the shank with
thread. Leave the head part bare. |
Step 2

|
Tie in a
few marabou tips for tail and tie down the surplus along the
body part of the fly. |
Step 3

|
Tie in a
piece of french tinsel along the side of the hook. |
Step 4

|
Wrap the
thread back up to the start of the body. |
Step 5
|
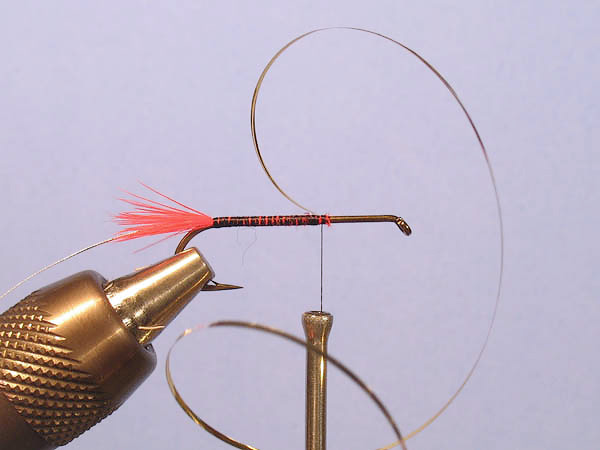
Tie in a
piece of silver mylar tinsel. |
Step 6
|
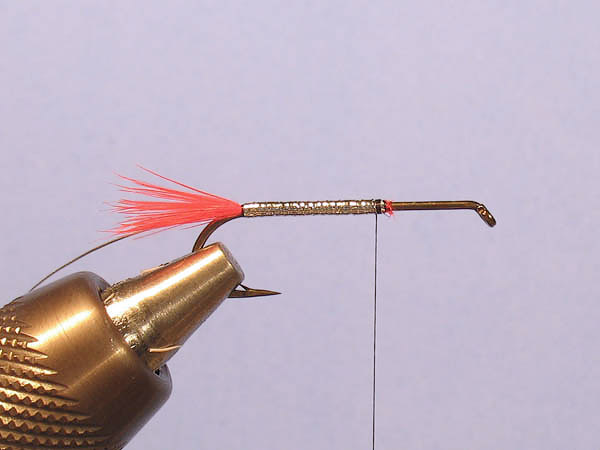
Wrap the
mylar tinsel backwards over the body. Turn around at the
tail and wrap it back up again. Secure it and cut the waste. |
Step 7
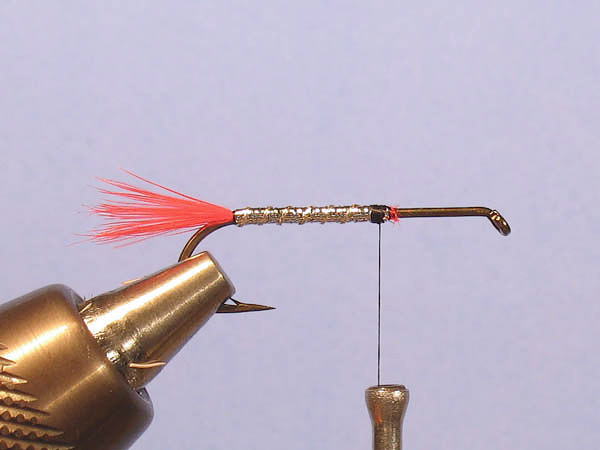
|
Spiral wrap
the french tinsel over the body and tie off. |
Step 8
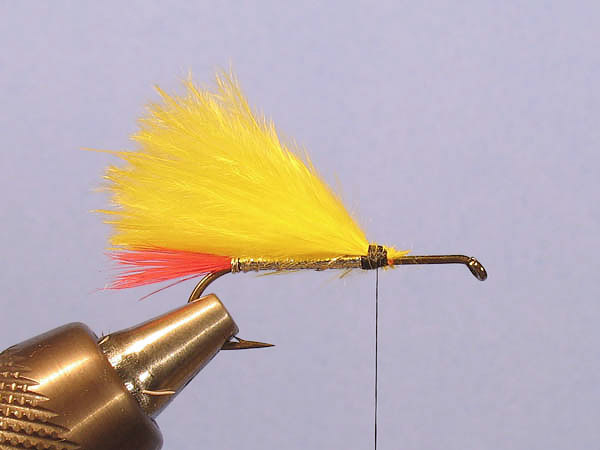
|
Tie in a
generous bunch of marabou for wing. |
Step 9
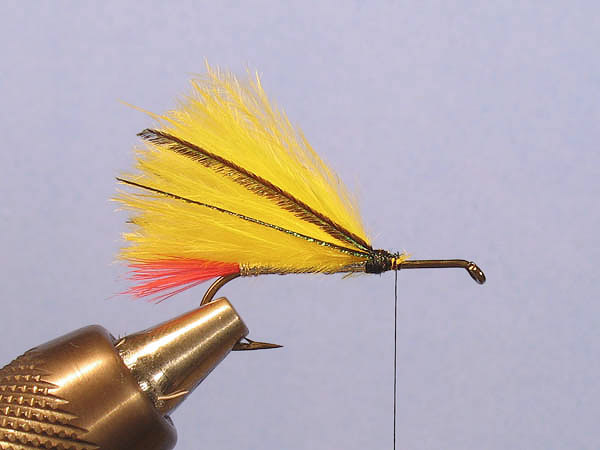
|
Add four
peacock herls to the wing, two on each side. |
Step 10

|
This is optional, but a way I
prefer. Here I have tied off the regular tying thread and
tied in a GSP thread instead. This is superb for deer hair
work. The hook will break long before the thread. |
Step 11

|
1: Prepare
a bunch of deer hair and find your tie-in point.
2: Switch hand and cut down the other side a little bit.
This makes it easier to control.
3: Lay a couple of loose wraps around the hook and the hair
and then tighten the thread.
4: Let go of the bunch and allow the hairs to spin around
the hook |
Step 12

|
Pack the
bunch backwards with your fingers or a hair packer. |
Step 13

|
Make a few
wraps immediately in front of the hairs to make them stay
back there. First bunch in place... |
Step 14

|
Here I've
just laid a couple of loose wraps around the second bunch
and the hook. |
Step 15
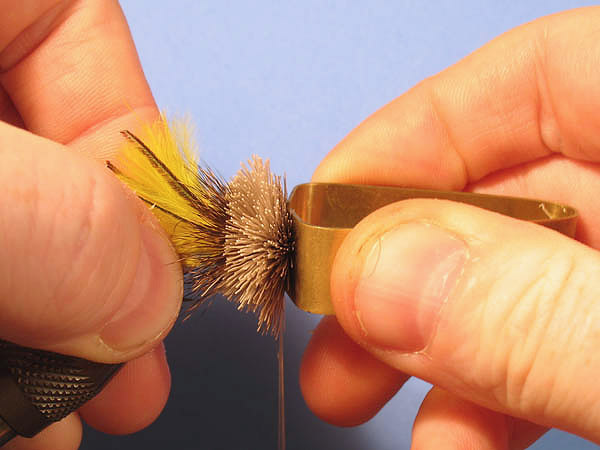
|
Tighten,
let it spin and pack it backwards against the first. This
time a hair packer is used though. Personal preference, but
at least to me, this tool makes a difference to the better. |
Step 16
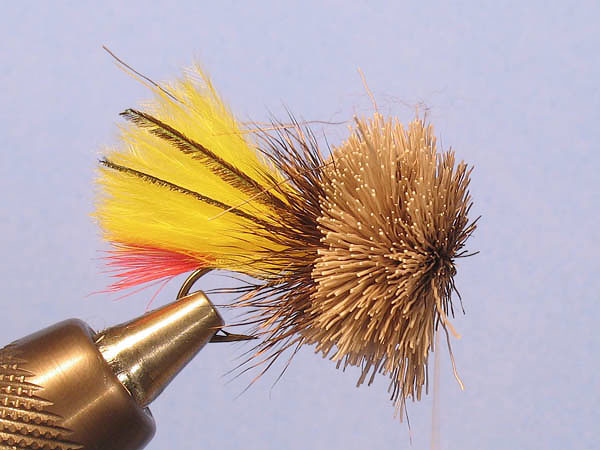
|
"There is
always room for another bunch." And here it has just been
tied in and spun. |
Step 17
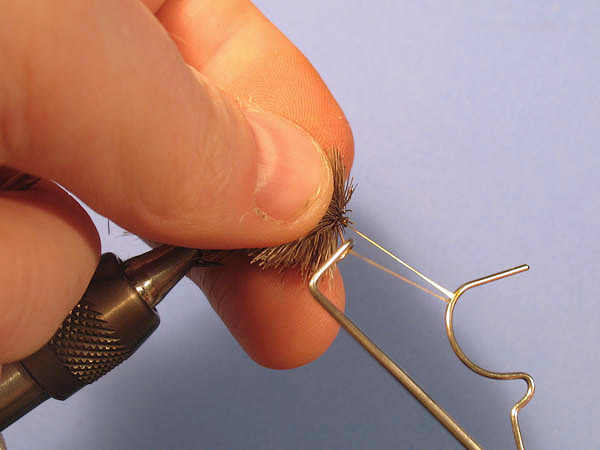
|
But that
last one said 'good bye hook shank' so it's time to tie off
the thread. |
Step 18
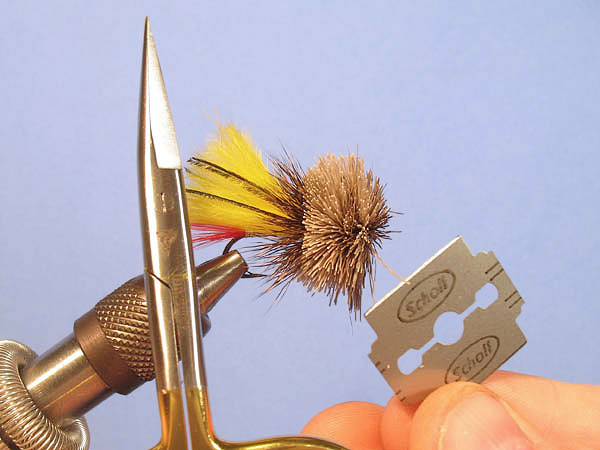
|
Scissors
or razor blade... another personal preference. I prefer the
razor blade for most of it, even though you have to be
careful so you don't cut too much. |
Step 19
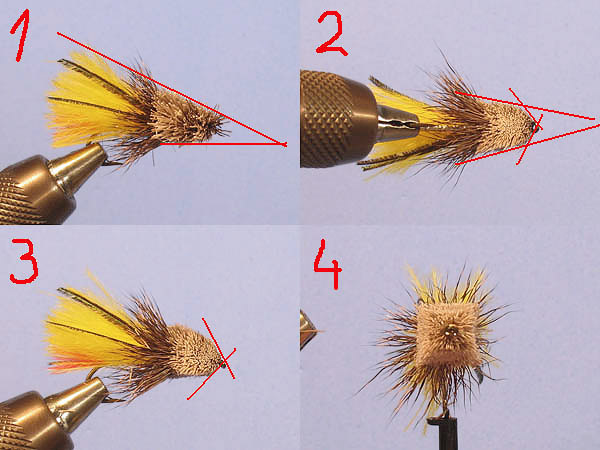
Now we're going to do a
series of straight cuts to create a symmetrical head to work
from.
1: Start with a cut under the head. Straight backwards and
relatively close to the hook. Continue with a cut on the
upper side, in the same angle as the top of the wing.
2: Cut down the sides and make also two smaller cuts in
against the hook eye.
3: Make the top-bottom versions of the hook eye cuts.
4: A rough head seen from the front. |
Step 20
|
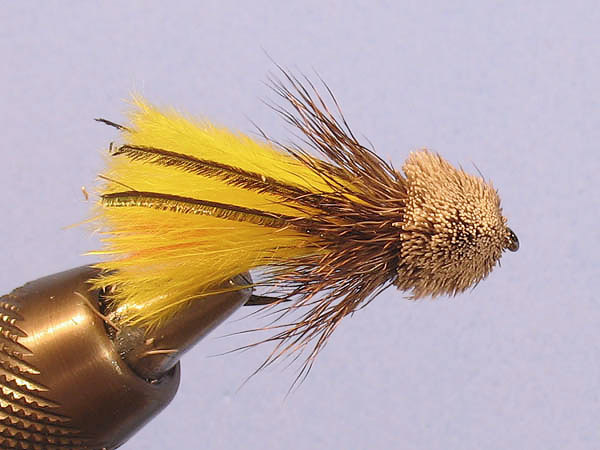
Cut around the back of the
head to separate it from the collar and create a little
neck. Cut only the butt end of the hairs. |
Last trim and done...
|
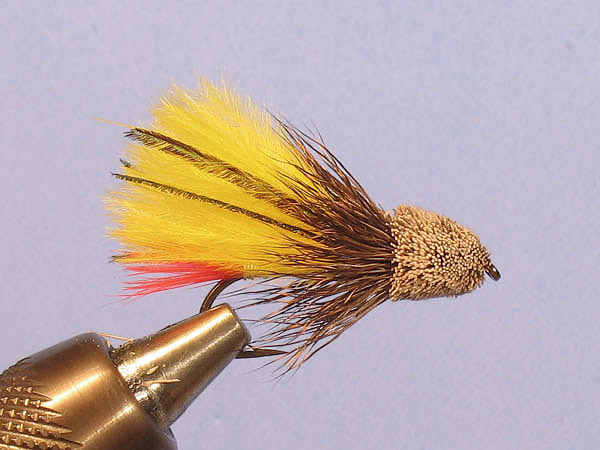
With a
rough but symmetrical model, like the one we just made, the
only thing left is rounding off the edges. Don't do it
"smaller", just rounder... and it will be easy to make it
STAY symmetrical. |
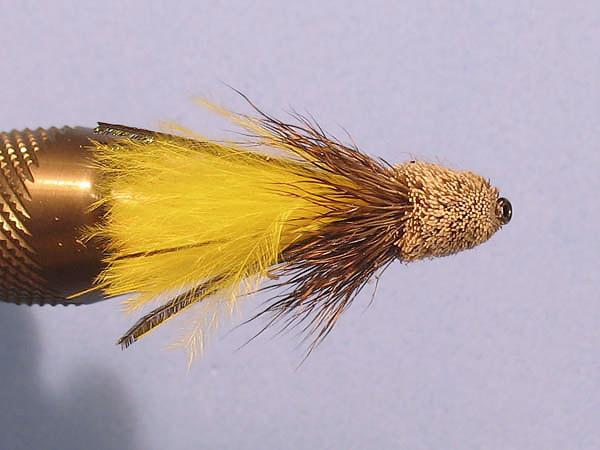
Top view...
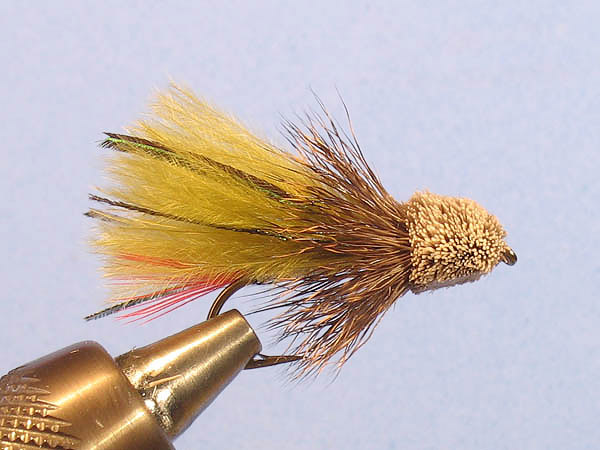
'Marabou Muddler' doesn't mean
'yellow'...
|