


|
A step at a time:
FOAM
CATERPILLAR
PDF print version
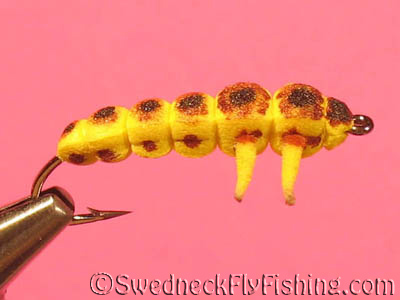
Originator: Paul Whillock
| Hook: |
Stimulator ot
Natural Bend, #6-10 |
|
Thread: |
Gudebrod 8/0, yellow |
|
Body: |
2mm fly-tying foam,
yellow |
|
Legs: |
Ultra Chenille,
yellow |
|
"Finishing touch": |
Permanent markers |
(Full-size pictures on click.)
Step 1
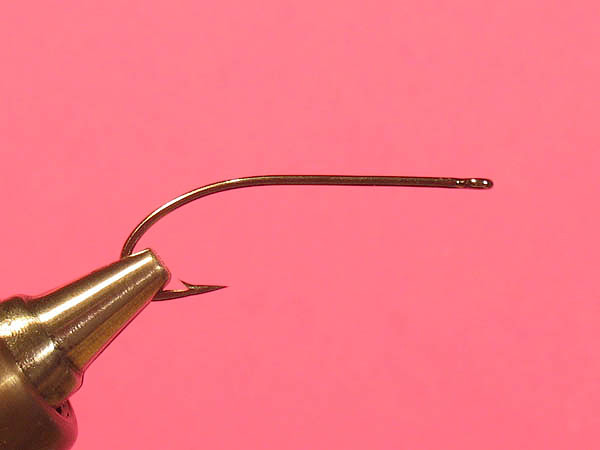
|
This is a Stimulator hook, designed particularly for the
Stimulator pattern. It has a long and smooth hook bend that
straightens out a bit up on the hook shank, instead of
continue all the way to the eye like on a Natural Bend. A
Natural Bend or a straight streamer hook will also both work
for this pattern. It doesn’t have to sit in the vise yet
though. Some preparation is still to be done. |
Step 2

|
Cut a fairly long strip of foam, ca 5mm wide. 3-4x the
length of the body is usually enough to make it easy to work
with when it’s on the hook. (To get it straight and even, a
sharp knife and a ruler can be to prefer in front of the
fly-tying scissors.) |
Step 3

|
Fold the strip at its center point, squeeze it a little and
cut the corners of the doubled part in a 45 degree angle.
Note that this is mainly for rounding edges, so don’t cut
too much. |
Step 4

|
Stick the hook point through the strip, in the middle of the
crease that was created when squeezing it. To first create a
hole with a needle makes it easier to both get the hole
perpendicular and to avoid taring the foam up with the barb. |
Step 5
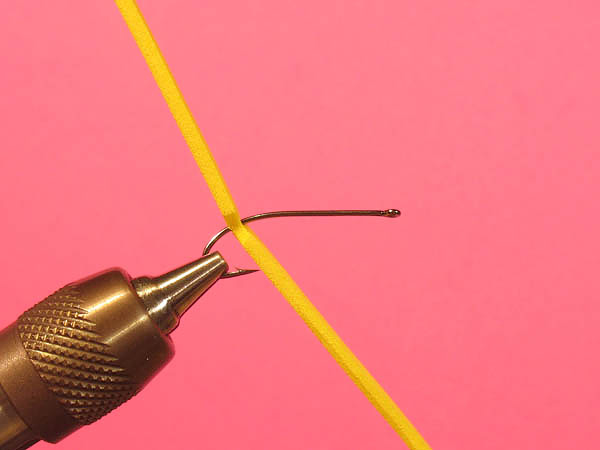
|
Mount the hook in the vise with the foam hanging freely. |
Step 6
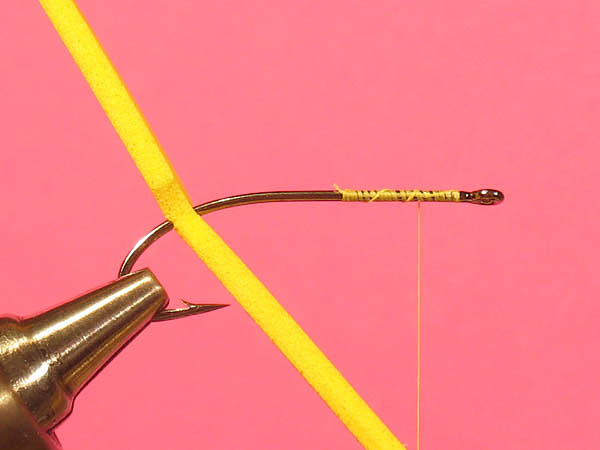
|
Tie in the thread and wrap it a couple of centimetres down
the hook. Return to a point around 5mm from the start of the
hook eye. |
Step 7
|
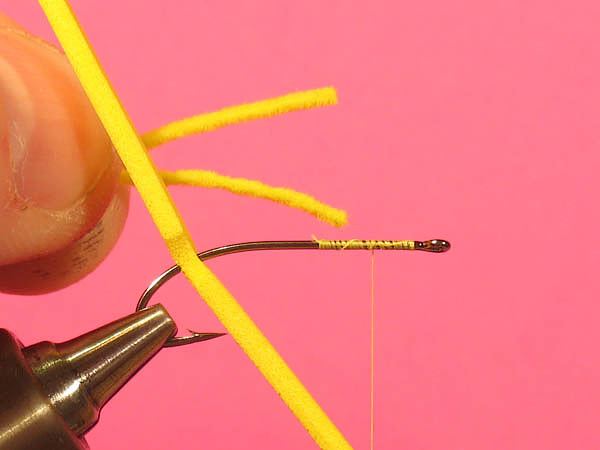
Cut two pieces of Ultra Chenille. |
Step 8
|
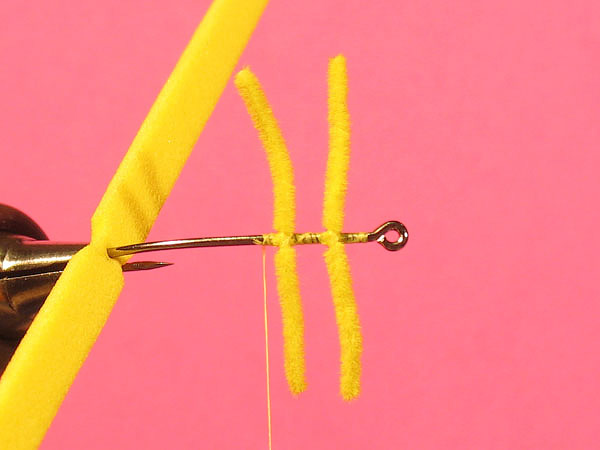
Tie in the chenille pieces perpendicular to the hook shank
with 5-6 mm’s between the tie-in points. |
Step 9
|
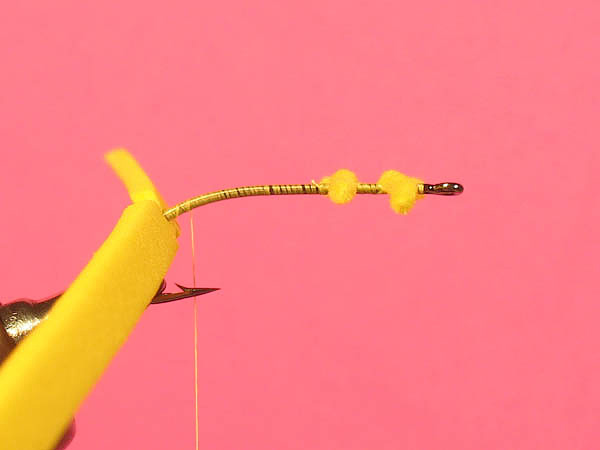
Wrap the thread down the
shank all the way to the foam. Turn back again and leave it
hanging about 3-4 mm’s from the foam. |
Step 10

|
Fold both foam pieces forward, one above the hook shank and
one under it and make a loose thread wrap around them both. |
Step 11

|
Keep the foam centered on the
hook and tighten the thread. Secure with another couple of
wraps straight on top of the first. There we have finished
the first segment of the caterpillar body. |
Step 12

|
Separate the foam pieces and
bend them backwards. Let the thread pass in between them
exactly at their meeting point. |
Step 13

|
Wrap the thread up the hook
shank to the point where the next segment is to be tied in. |
Step 14

|
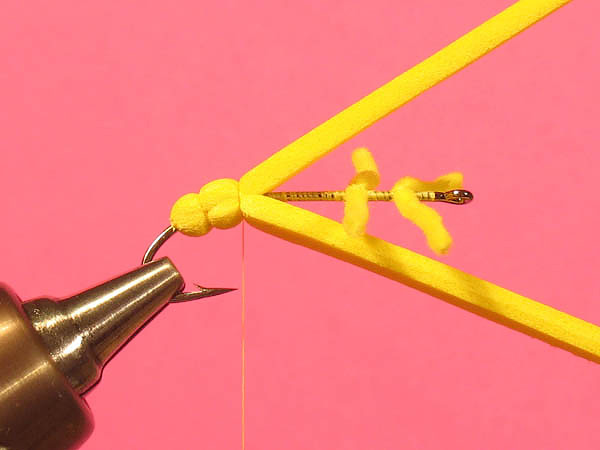
Create the second segment
just the same way as you did the first. Fold together, a
loose wrap, center, tighten and secure… |
Step 15
Step 16
|
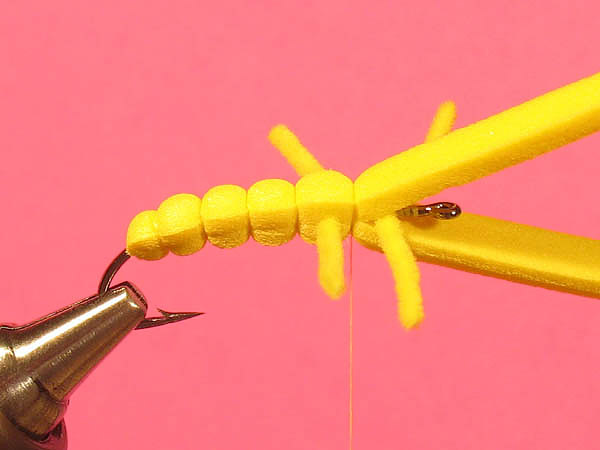
Create a third and a fourth
and when you reach the leg pairs, simply pass the chenille
with the thread and tie the foam down on the other side.
Really nothing different from the other segments. |
Step 17

|
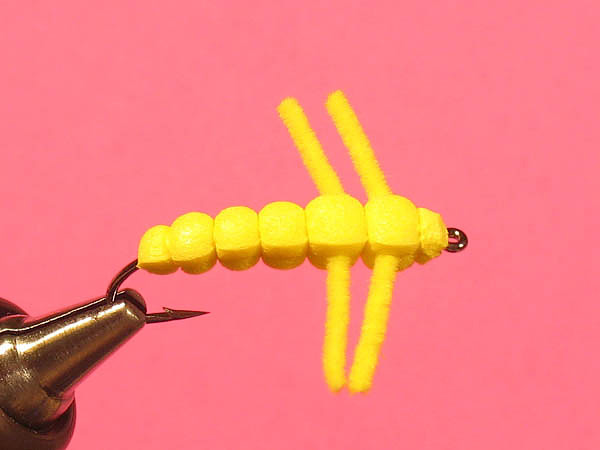
Cover the next leg pair the
same way as the first and secure about 3mm behind the hook
eye (not immediately behind it). Pass the thread in between
the surplus pieces and make a whip-finish on the bare hook
shank. |
Step 18
|
Instead of making things
harder by cut the foam close to the thread, to be able to
cover the entire surplus and also risking that the foam
slips out (it has happened to me more than once), we will
use these waste ends to create a head. Cut the pieces just
behind the hook eye and round off the edges. There’s our
little head… and the foam is still secure. |
Step 19
|
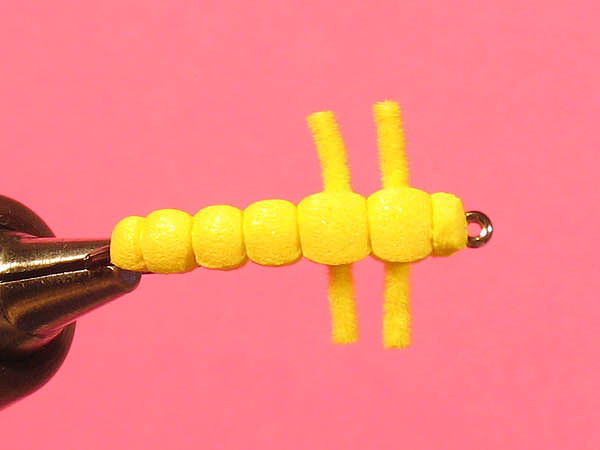
Cut the
chenille strands to desired leg length. |
Step 20
|
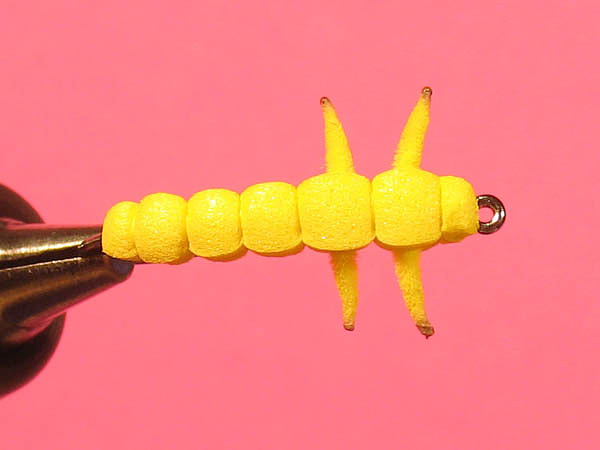
Take the fly from the vise
and let the leg pairs quickly pass through the flame of a
cigarette lighter. The chenille strands burn quickly so do
it rather too fast than too slow and repeat if first time
wasn’t enough to give them the desired tapered shape. It can
be worth trying on a couple of loose strands before doing
it, just to get the feel of it… or even prepare the legs
before doing the fly. When the legs have reached the desired
shape, burn the tips (one at a time) to small “balls” by
moving them close to the flame. These tips quickly burst
into flame, so be prepared from the start to blow out BOTH
flames. |
Done...
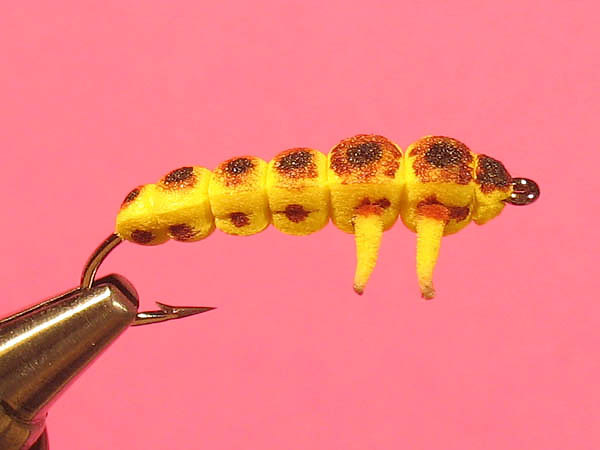
|
Technically, its obvious
silhouette will probably make it ready to be fished already
after burning the legs. But with a couple of waterproof
markers we can make it look a little neater.
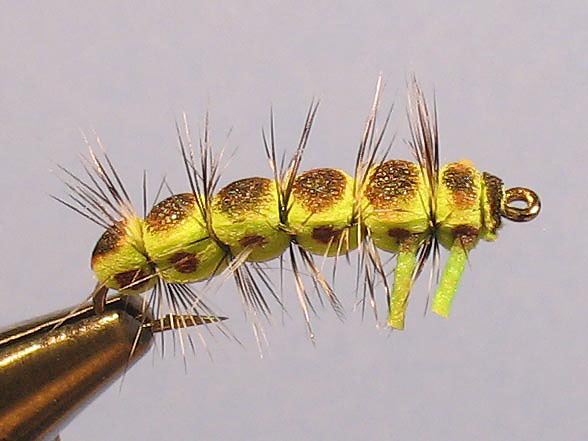
That was his basic form of it. But there are caterpillars in
a variety of colours and shapes, so continue to experiment
with both colours and additional materials |
|