

|
A step at a time:
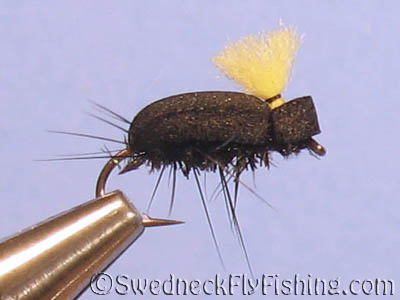
FOAM BEETLE
PDF print version
| Hook: |
Dry fly, #12-16 |
|
Thread: |
Gudebrod 8/0, black |
|
Body: |
Peacock herl |
|
Back: |
2 mm fly-tying foam,
black |
|
Hackle: |
Rooster, black |
|
Indicator: |
Poly yarn, yellow |
(Full-size pictures on click.)
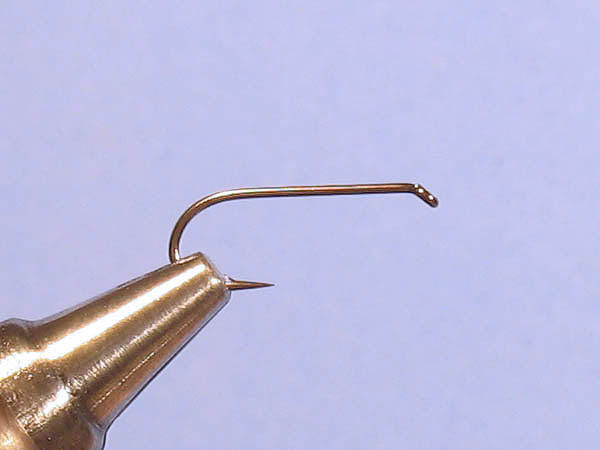
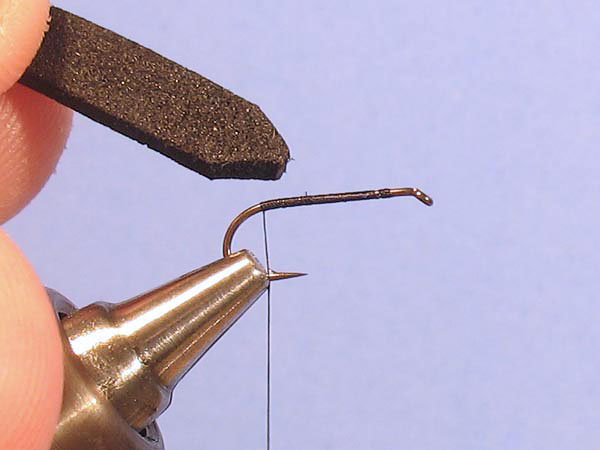
Step 1
|
Mount a hook in the vise. |
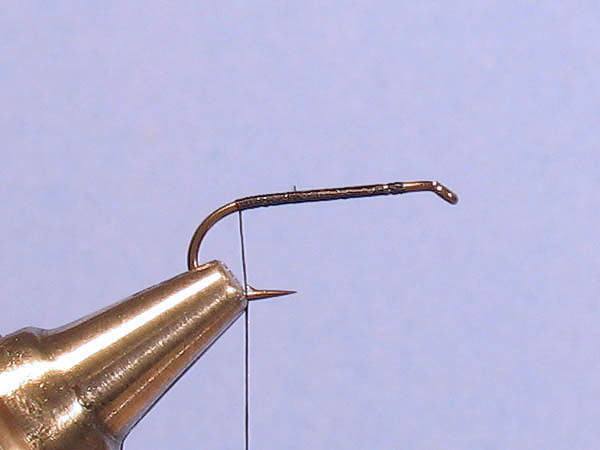
Step 2
|
Tie in the thread and
wrap it back to the hook bend. |
Step 3
|
Cut a strip of foam,
about 5mm wide. Then cut the corners in one end. This makes
it easier to tie in without creating too much bulk at the
same time as it centers it on the hook. |
Step 4
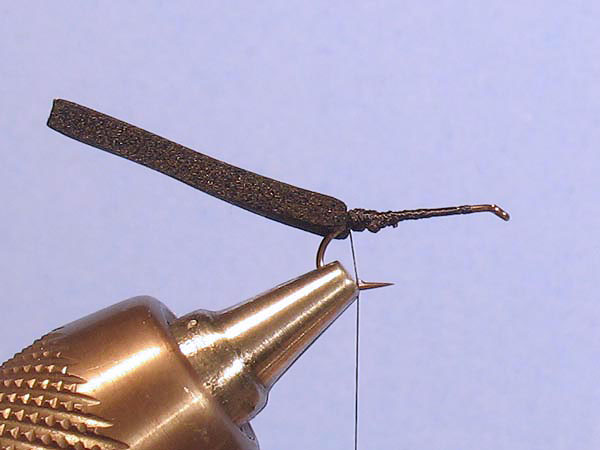
|
Tie in the
foam strip in the prepared tip. First wrap goes over the
start of the wide part and the rest of the tip is tied down
to the hook shank. |
Step 5
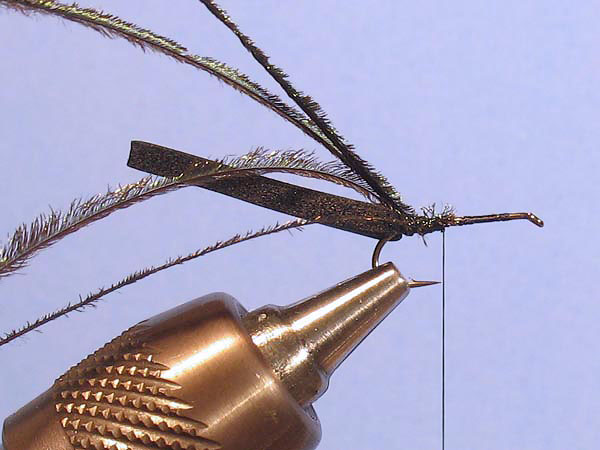
|
Tie in 4 peacock herls in
the tip end, immediately in front of the foam. |
Step 6
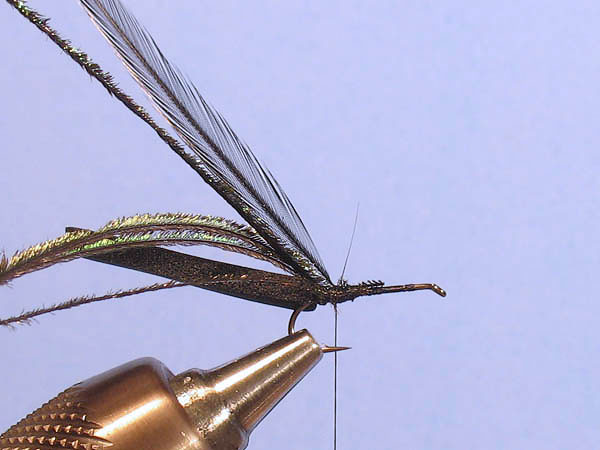
|
Finally, tie in a rooster
hackle a millimeter in front of the herls. |
Step 7
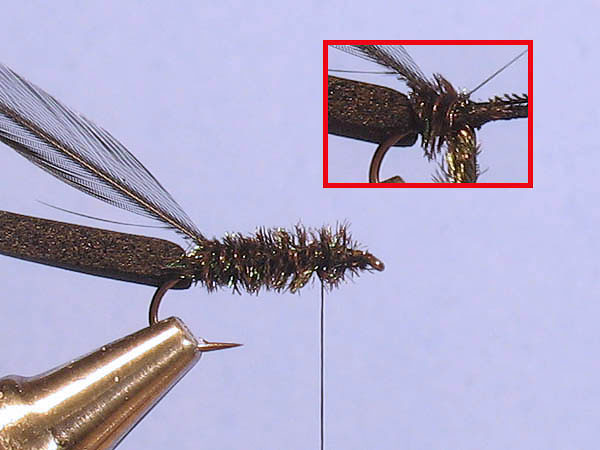
|
Twist the herls a few
turns around the thread and wrap them together. Make the
first wrap behind the hackle (insert picture) and then
continue forward to a point a couple of millimetres behind
the hook eye. To wrap the herls together with the thread
makes the body more durable and prevent the material to
unwrap if it breaks during fishing. After the herls have
been secured and the excess has been cut, lay the thread
diagonally backwards over the herl and let it hang about 4mm
behind the head. |
Step 8
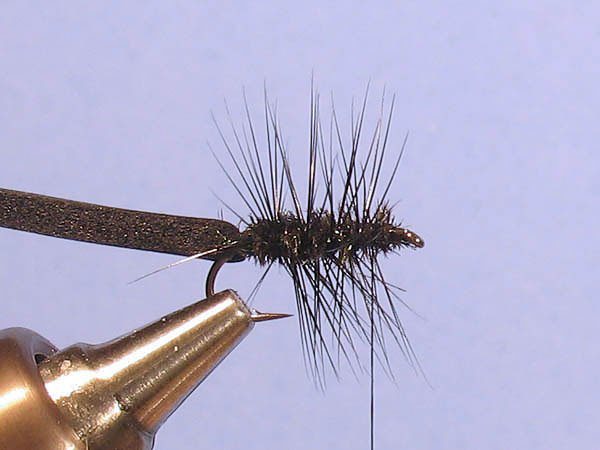
|
Wrap the
hackle forward in even turns. 4-5 are usually sufficient.
Tie it down and cut the excess. |
Step 9
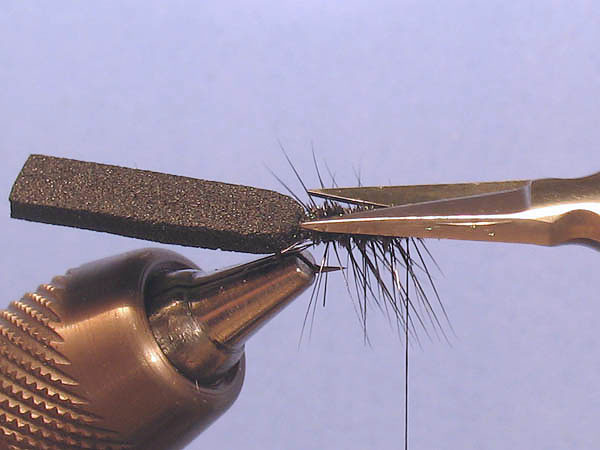
|
Take the
scissors and cut all the hackle barbs on the top of the
hook. |
Step 10
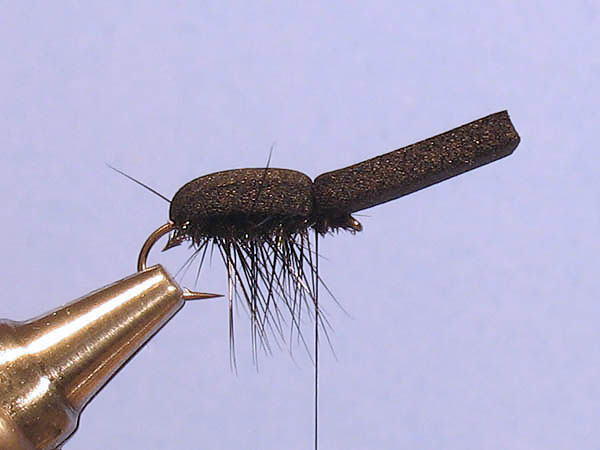
|
Fold(!) the foam forward and
lay it down it (not pull) over the body. Then tie it down
with a few firm thread wraps. Important with foam: There is
good foam and there is poor foam... and there is bad
handling of foam. Since the material itself doesn't have
much of a boyancy, everything is depending upon the small
air bubbles inside it. Good foam contains a lot of air, poor
foam is dense and contains less air. Pulling and squeezing
the foam will affect these air bubbles and will turn good
foam into bad foam. |
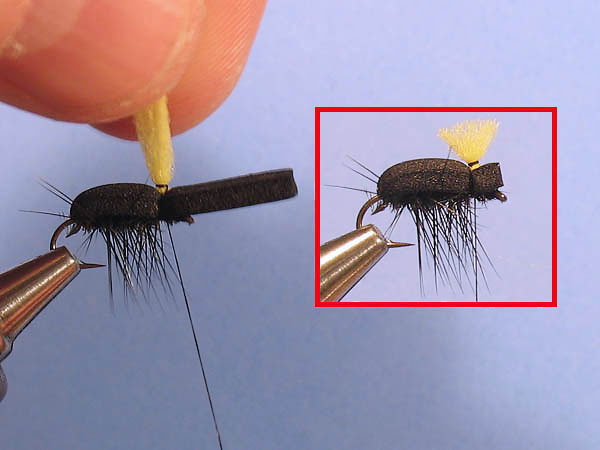
Step 11
|
Place a piece of light
colored poly or antron yarn on top of the fly and tie it
down at the same point as where the foam was tied down. Pull
it down in the crease so the two yarn ends stand up. |
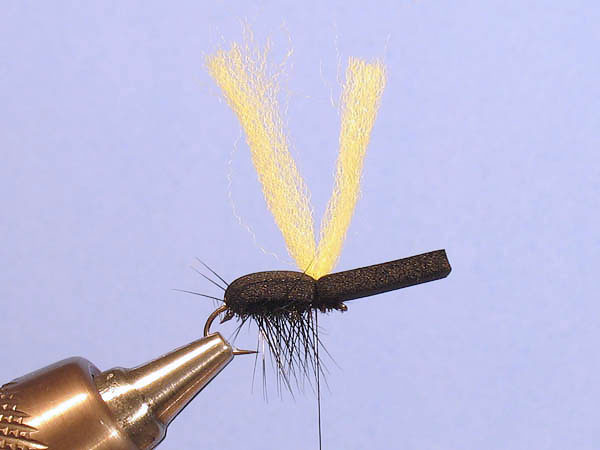
Step 12
|
Take the two ends, hold them
together and make a couple of thread wraps around them, as
close to the foam as possible. Then trim it to about 4-5mm
height. Cut at the same time the excess foam over or just
behind the eye and round off the cornes (clearer on the next
picture.) |
Step 13

|
Make a whip-finish behind the
eye (or, if you think there's room, in the foam crease).
Turn the fly around and cut the hackle barbs also under it.
Save the ones pointing out to the sides. |
Done...
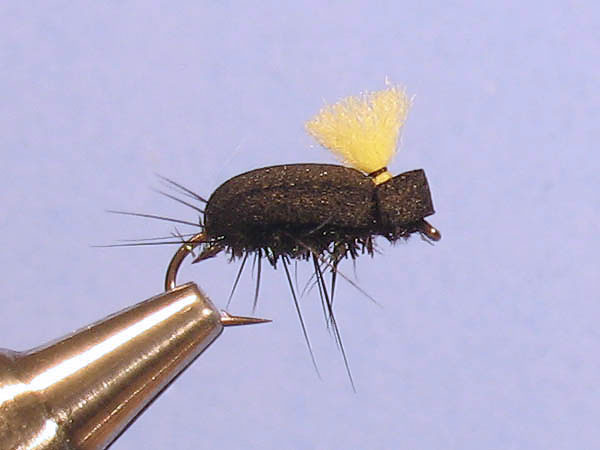
|
This is one of my own
favourite dry flies. I often fish smaller lakes surrounded
by trees, making false casts impossible. A few roll casts
will soak the average dry fly in no time, but this is
unsinkable. So when your casting range is limited and your
own fly lands at the same place as the real beetles drop
down from the trees... you will want an imitation on your
tippet. |
Top view...

|