


|
A step at a time:
ZEBRA MIDGE
PDF print version
| Hook: |
Scud or buzzer, #14-22 |
|
Weight: |
Nickel bead |
|
Thread: |
Gudebrod 8/0, black |
|
Body: |
Tying thread or
floss, black |
|
Rib: |
Silver wire, fine |
(Full-size pictures on click.)
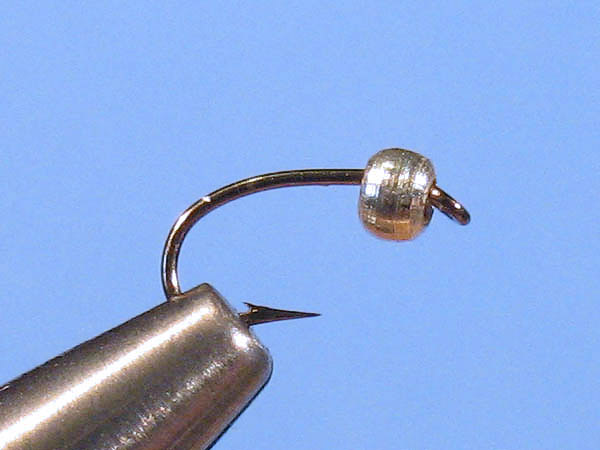
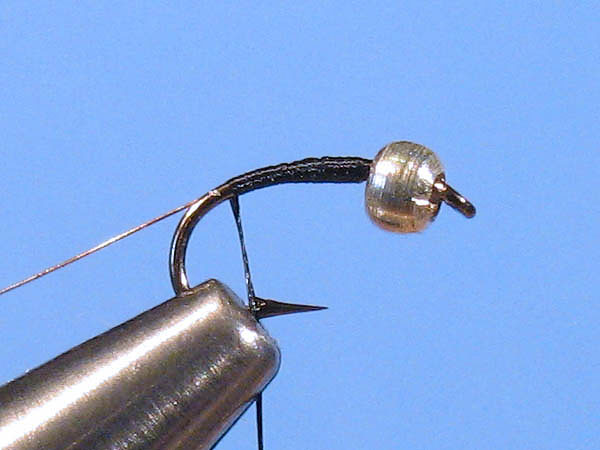
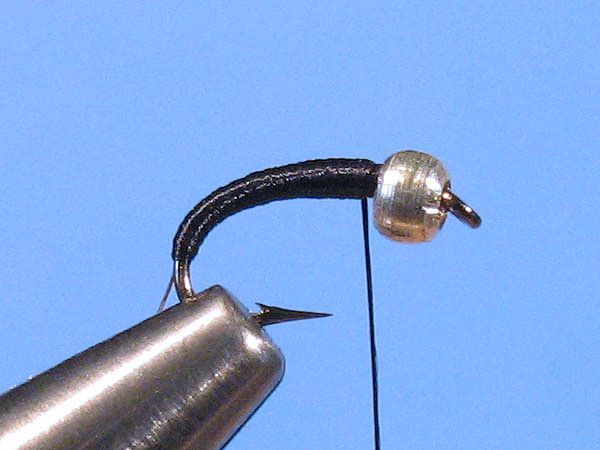
Step 1
|
Slide a
bead onto the hook and mount it in the vise. |
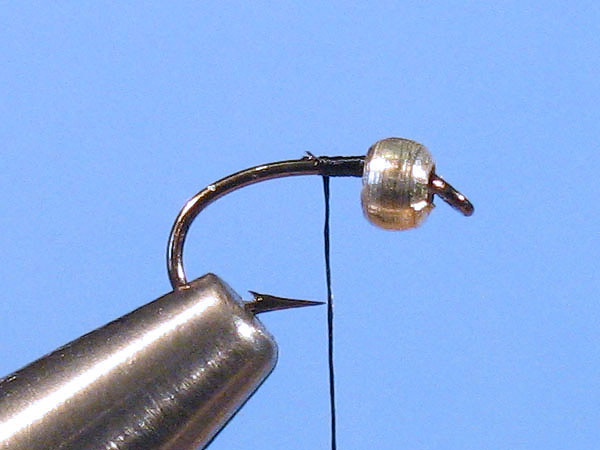
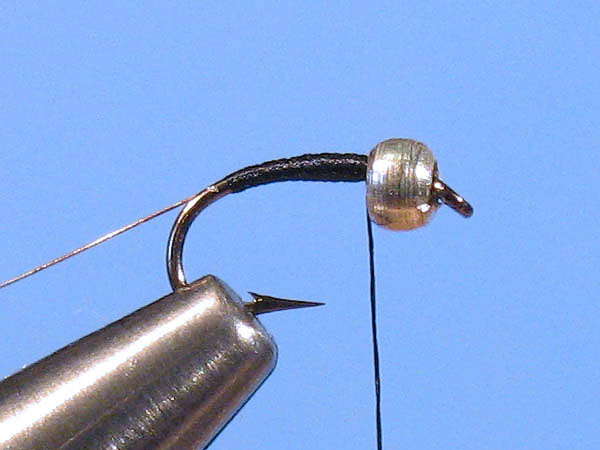
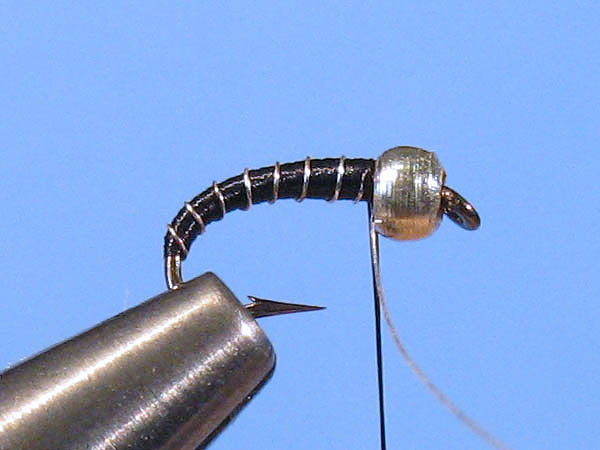
Step 2
Step 3

| Tie in the silver wire
and start looking at the hook in thirds. Cover 1/3 with
thread. |
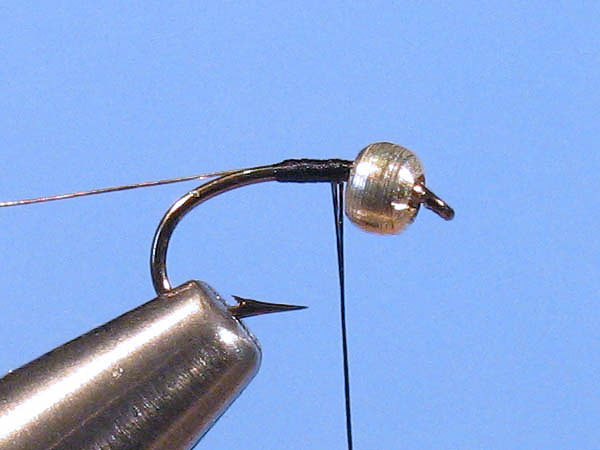
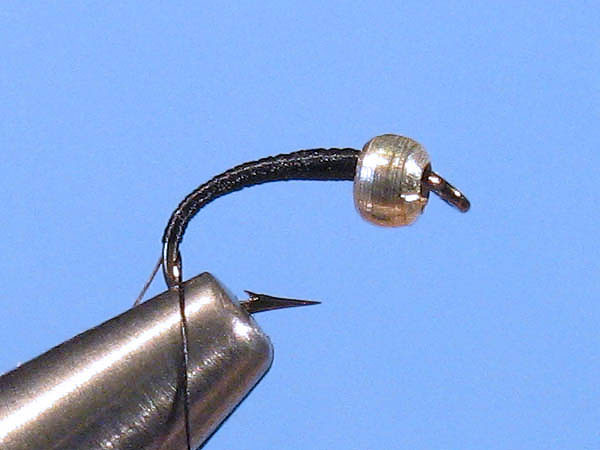
Step 4
|
Wrap the
thread back up to the bead. |
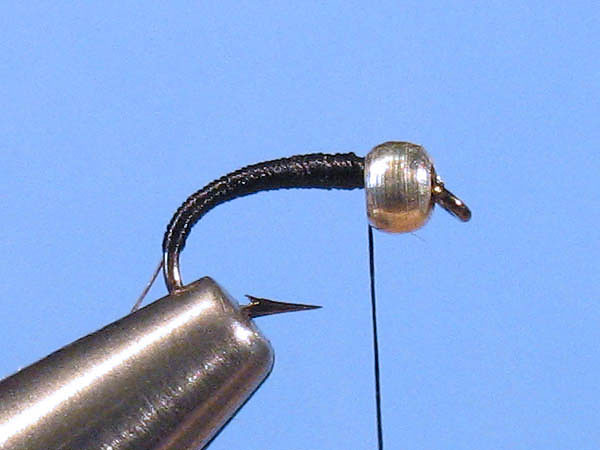
Step 5
|
Wrap the
thread down to the next point... |
Step 6
|
... and
wrap it back up again. |
Step 7
|
Wrap it
down to the last point... |
Step 8
|
... and
wrap it back up again. (Getting bored soon?) |
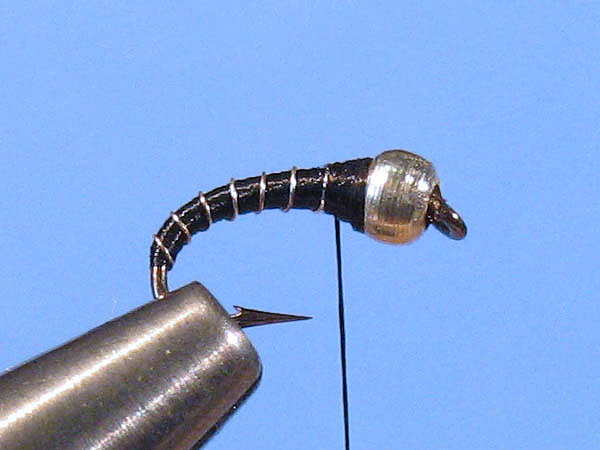
Step 9
|
One more
time. Uptil now, we have mainly been building. Flatten the
thread completely for this last time by spinning the bobbin
counter clockwise. Then wrap it all the way down and back up
again. Stop a little now and then to flatten the thread
again. |
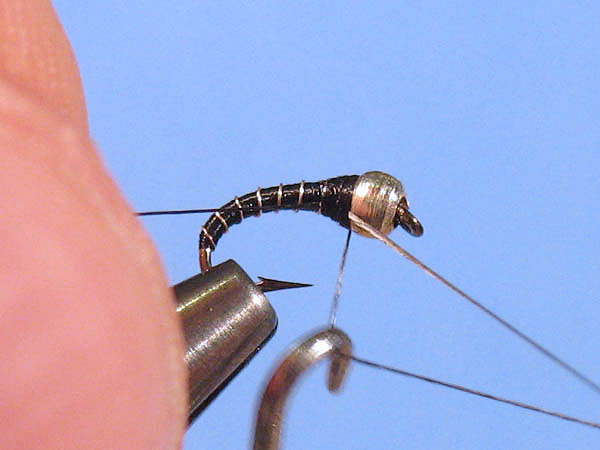
Step 10
|
Spiral
wrap the wire over the body. Tie it in behind the bead and
cut the waste. |
Step 11
|
Build up a
thread "cone" behind the bead. |
Step 12
|
Make a whip
finish behind the bead. |
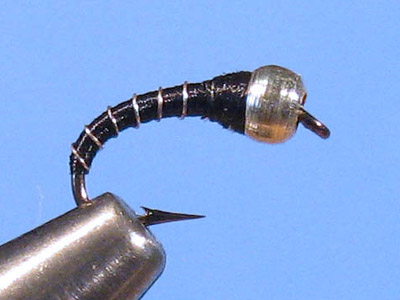
Done...
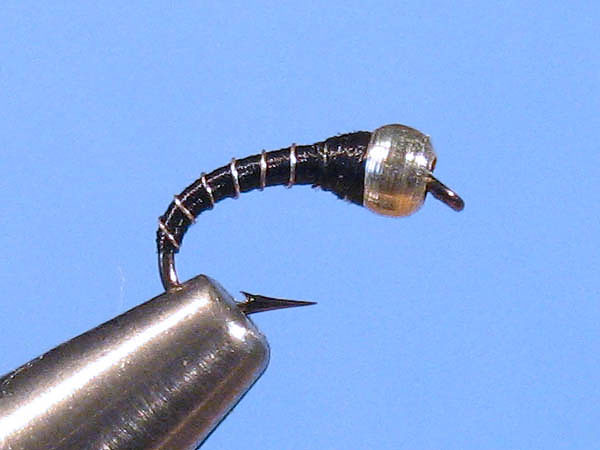
|
How much
simpler can a fly be? |
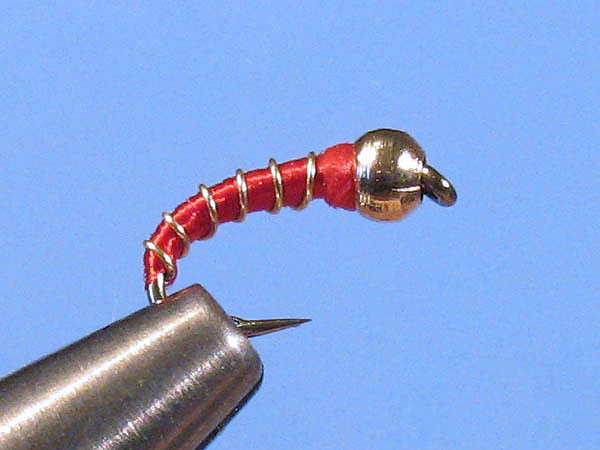
Color variant...
Lightweight variant...

|