


|
A step at a time:
TOUCH DUBBING
PDF print version
Here comes a demonstration of a dubbing technique which can make both life easier and flies neater. I won't give you a fly, you can't be handed everything for free. This is just a technique that you can use when you design your own flies.
Slim rough bodies using conventional dubbing technique often ends up in taking too much dubbing... or too little dubbing... or applying it unevenly... or ripping it apart with the bodkin. Many obstacles, which only get higher as the hooks get smaller. But there are other ways than just "rubbing finger tips".
|
(Full-size pictures on click.)
Step 1
|
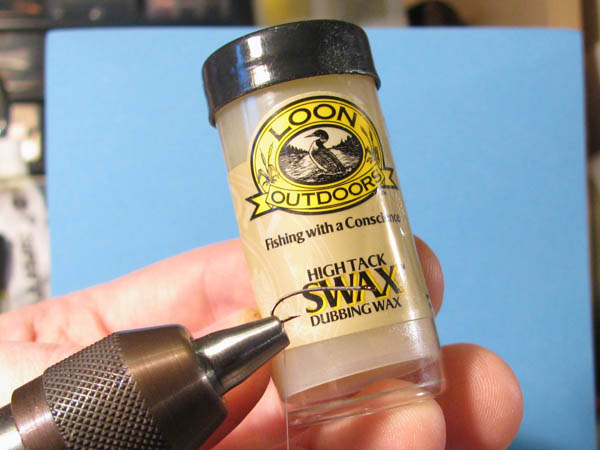
To this we will use the wax that normally "just stands there"... LOON High Tack Swax. |
Step 2

|
'High tack' is not an exaggeration. Tacky is exactly what it is... BIGTIME! This is not the same as the wax you normally see (and probably also have). It's so soft that it can be squeezed out from the can... and it's sticky with a capital 'S'. |
Step 3
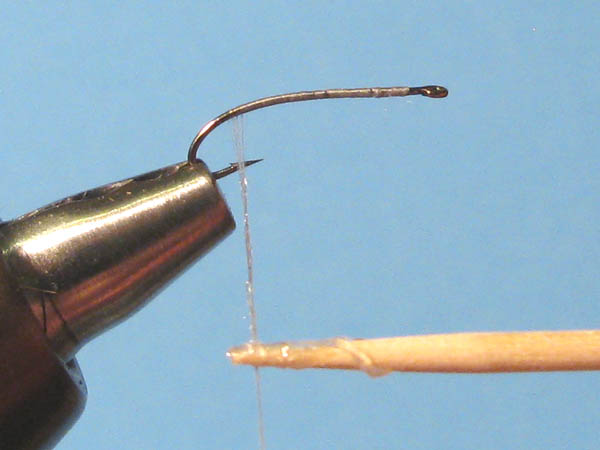
This is the method I prefer when I want to apply it to the thread. Using the tip of a tooth pick gives you better control when applying it. Its tackyness makes it really easy to overdo it. But by applying it little by little with the tip and distribute it with a "clean" part of the tooth pick, puts you back in control over both amount and distribution. |
Step 4
|
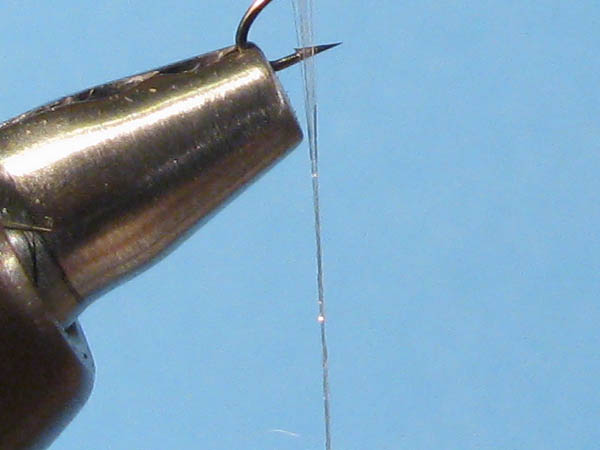
Wax spread out and ready for dubbing. A very thin but extremely tacky layer. |
Step 5
|
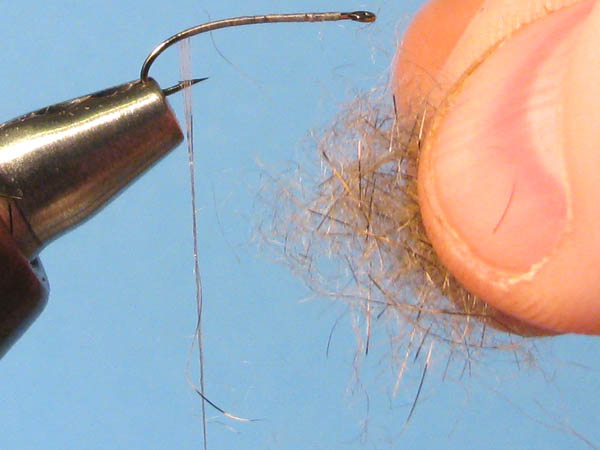
Take a pinch of dubbing. This is squirrel, a fairly rough dubbing. Rather similar to hare's ear, but a little longer. Because of its length I have taken a portion of it and worked it with the scissors, so now most of the hairs have a length of about 0.5 cm (1/5"). |
Step 6

|
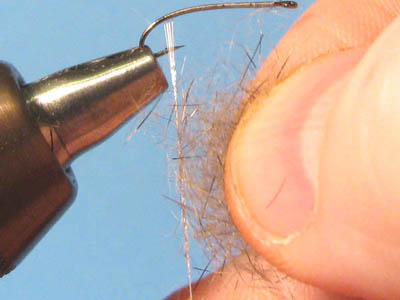
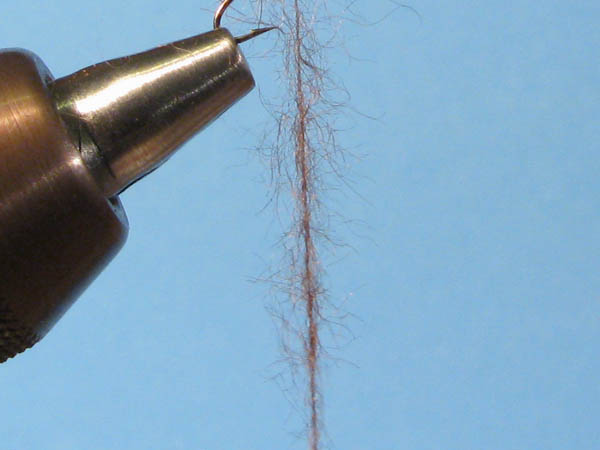
Hold the thread between your left hand's fingers (around a wax free part) and while twisting it back and forth, you touch the thread with the dubbing and kind of "dab" the hairs on. The wax layer on the thread will catch the hairs and pull them out from the others. |
Step 7
|
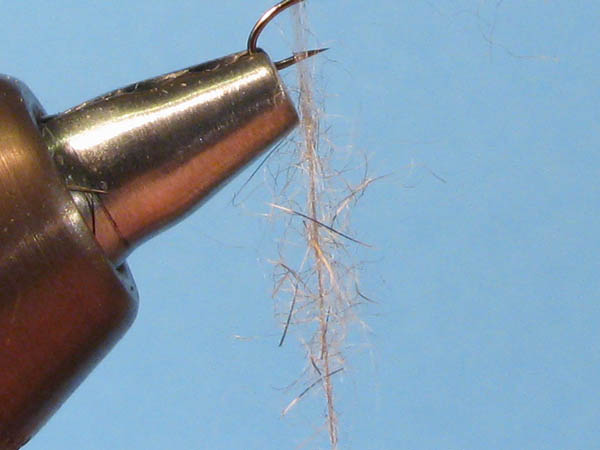
Yep, it doesn't need more than this. It's not necessary to cover the thread completely in this step, so don't take too much just because you "still can see the thread through the dubbing". |
Step 8
|
Here I have spun the thread clockwise, in the same way as I would have if the thread had been split with the material between the filaments. The wax is so tacky that the material in contact with the thread will twist around it instead of falling off. It will form a dubbing "core" that covers the thread. If you do it sparsely, like I did now, it's still a good thing to use a thread color that doesn't contrast to the dubbing color. |
Step 9
|
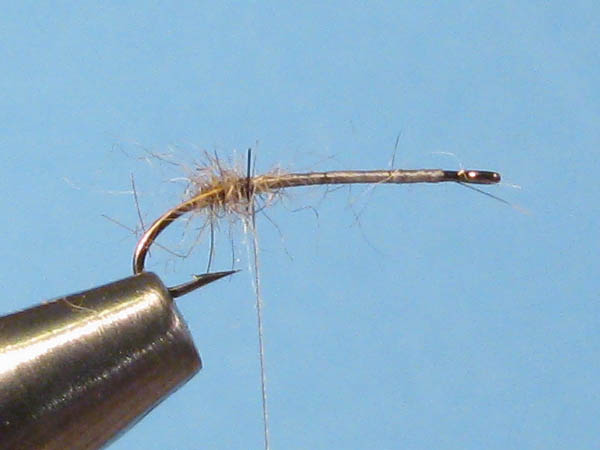
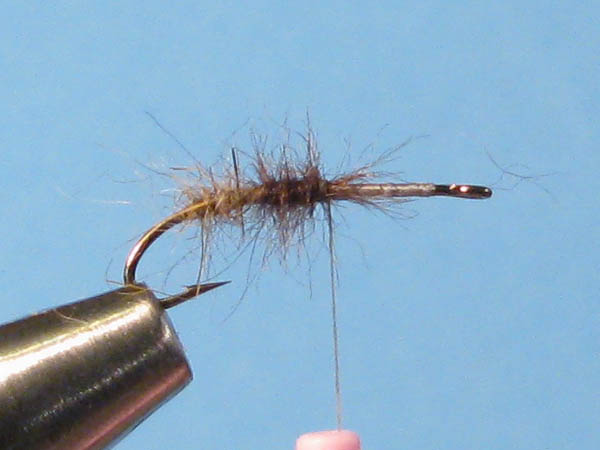
And here is how that will look when it has been wrapped onto the hook. Really slim, but giving the impression of already having been worked up with the bodkin. (To get a picture of the thickness: The hook is an Eagle Claw, size #16.) |
Another one
|
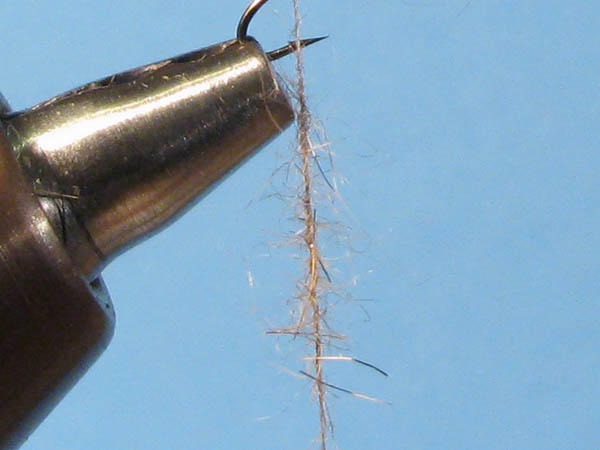
Here I have prepared a piece of thread for a new example. This is muskrat, mostly underfur cut down to 0.5 cm (1/5"). |
Wrapped
|
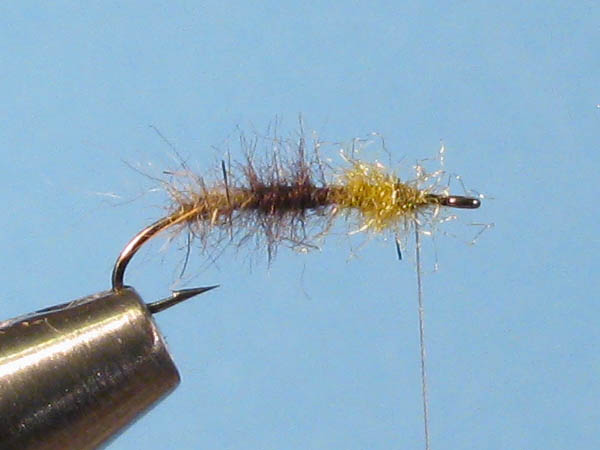
And here is the dubbed "body" after wrapping that one around the hook. Note that I took quite a lot of hair this time (compared to the squirrel part), but it doesn't make the body core much thicker. When the thread is twisted, only a certain amount of material can stick to the thread before the wax is covered and stops catching new hairs. |
Ooops...
|
Here a photo was forgotten. The goverment's fault for going out to the laundry room and putting me in the kitchen with the toddlers and their Play-Doh.
This is an example to show that it works with synthetic materials too. It's not as easy though. Few synthetic dubbings are as co-operative as natural underfur. This is SLF Masterclass. A fairly thin and short dubbing, which are two qualities that make touch dubbing easier. But I still had trouble with dabbing it onto the thread (on the picture that wasn't taken). Synthetic fibres seem to be each other's best friends and always keep tangling up. No, natural material is my preference when it comes to touch dubbing. |
A tiny example
|
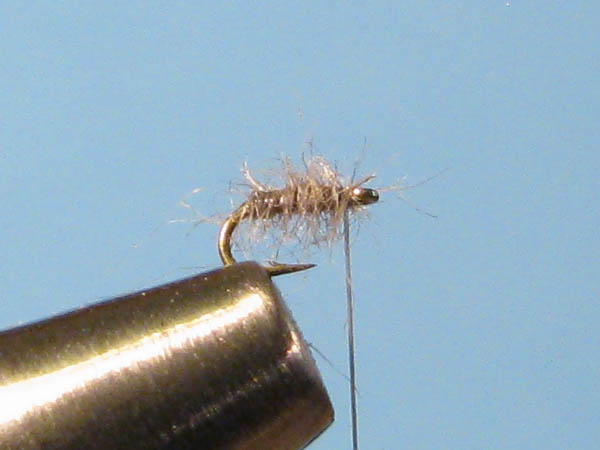
Finally an example on a really small hook... size #32. Sometimes touch dubbing is THE method and this can be one of those times. To dub an even body on a hook like this without taking too much, building bulks etc. doesn't always have to be a piece of cake. But this way makes it easier. |
Something to think about:
|
It's often said that "it's easier to add dubbing than to remove it". This is something which is extremely true when doing it this way. This wax really plays in a league of its own and having to add some for the body to be completed, is definitely preferable to needing to clear away the hairs from a left over centimeter of dubbed thread when the body is finished.
|
|