


|
A step at a time:
CDC CREATIVE PUPA
PDF print version
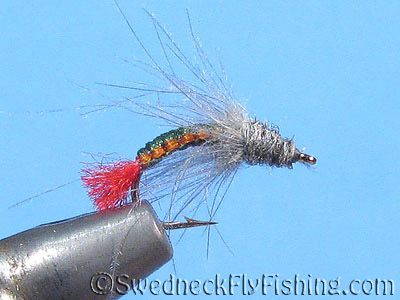 Originator: Torill Kolbu
| Hook: |
Kamasan B100, #12-14 |
|
Thread: |
Gudebrod 8/0, gray |
|
Tail: |
Wool yarn, red |
|
Abdomen (top): |
Antron yarn, dark green |
|
Abdomen (bottom): |
Antron yarn, amber |
|
Legs: |
CDC, blue dun |
|
Thorax: |
Fly-Rite, dark gray |
(Full-size pictures on click.)
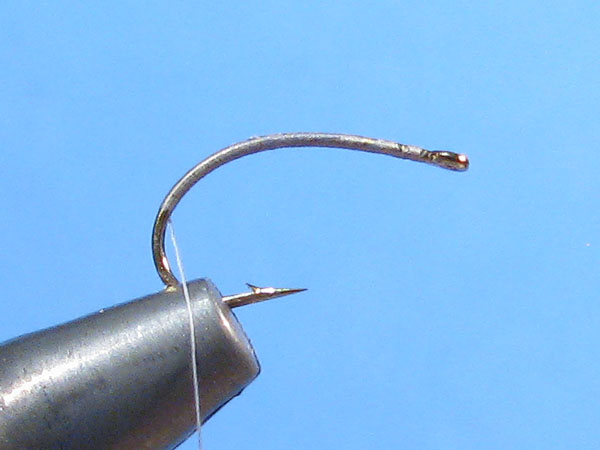
Step 1
|
Mount a hook in the vise, tie in the thread
and wrap it down to the hook bend. |
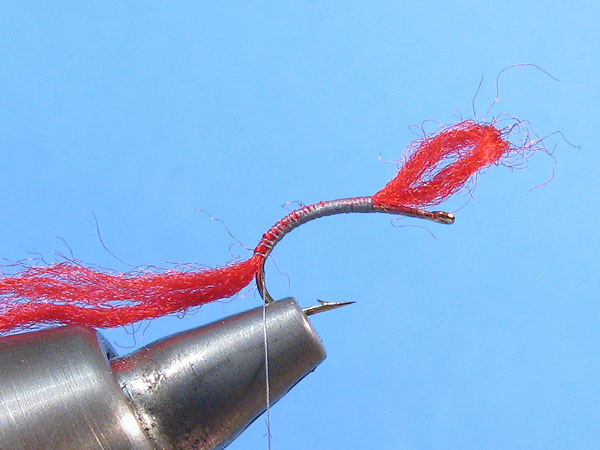
Step 2
|
Tie down a piece of wool yarn to the entire
abdomen part. |
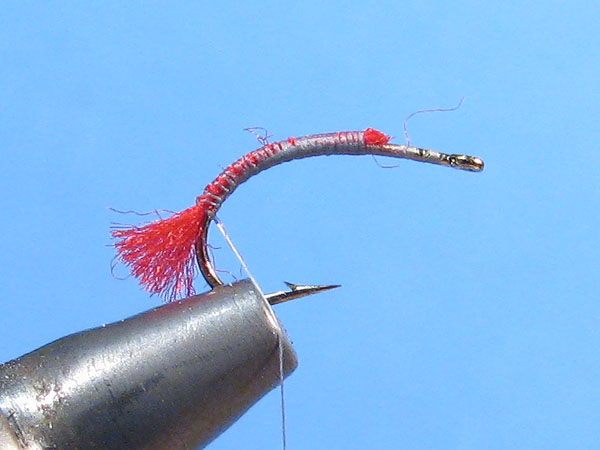
Step 3
|
Trim the tail and cut the waste. |
Step 4
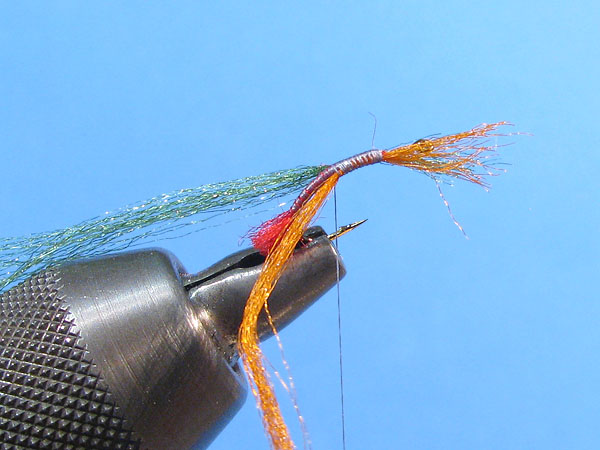
|
Prepare two 4-5" pieces of antron by pulling
some fibres from it to get them a little bit thinner (to about 2/3 or 3/4 the thickness from the spool). Tie
in the darker color on the far side of the hook and the lighter color on the near side. |
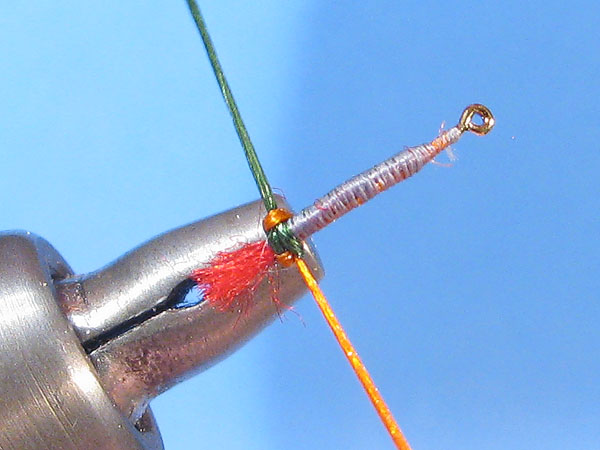
Step 5
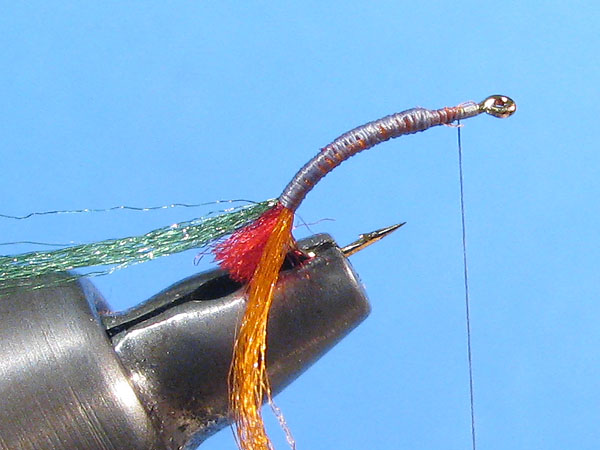
|
Tie down the pieces to start of the tail, cut the waste
and return up to the thorax with the thread. |
Step 6
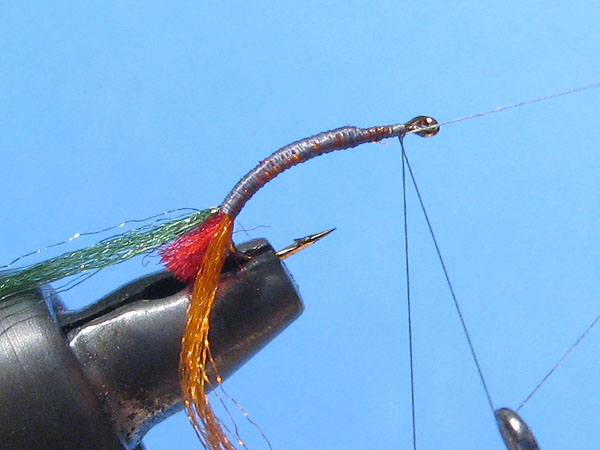
|
Tie off the thread. Not necassary if you're going to continue
using a tool, but I do it now as this tutorial is made in combination with a separate tutorial that will require it. |
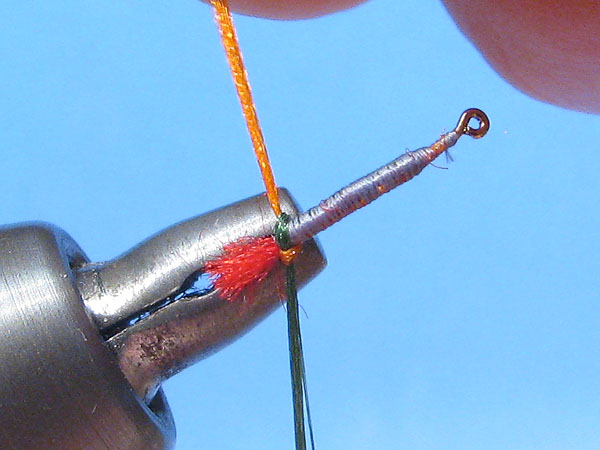
Step 7
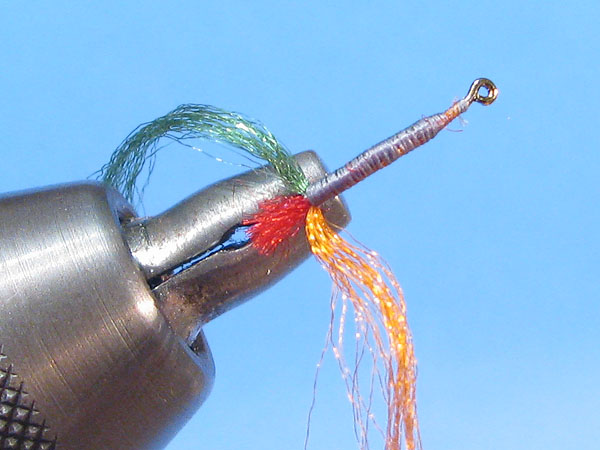
|
Starting position: The back of the hook towards
you and a piece of antron on each side of the hook. (For more detailed weaving instructions, which will describe
also an alternative technique, see here) |
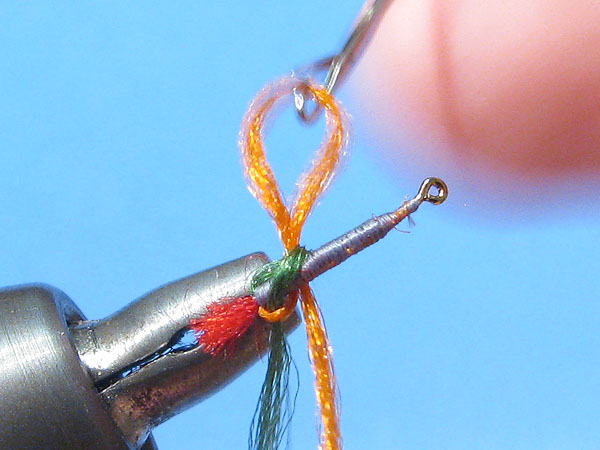
Step 8

|
Lay the green strand over the hook shank and,
through the loop that's forming, slip your tool down and bring it under the shank. |
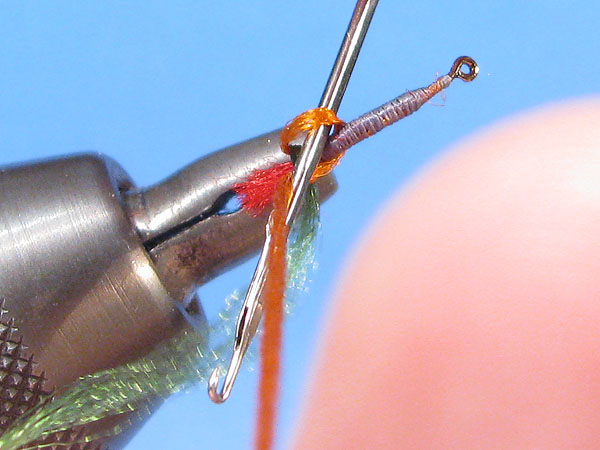
Step 9
|
Catch the orange strand with the tool and pull
it around the green, under the shank and up through the loop. |
Step 10
|
Tighten by stretching both strands straight out.
First knot done and the colors have now switched sides. |
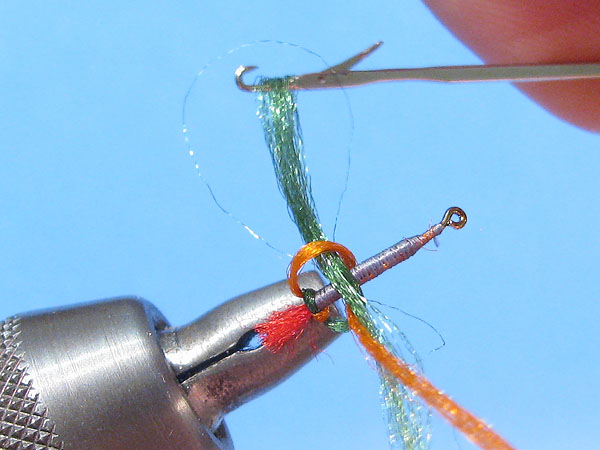
Step 11
|
The same way you laid the green over to form a
loop, now lay the orange UNDER the hook to form the loop, in which you bring the tool from BELOW, up ABOVE the
hook and down UNDER the orange. |
Step 12
|
Catch the green on the other side, pull it under
the orange, over the shank and down through the orange loop... |
Step 13
|
Tighten the knot. Second one done and the colors
are back where they started. A little abdomen starts to take shape back there. |
Step 14
|
Continue the same way and cover about 3/5 of the
hook shank. |
Step 15
|
Tie in the thread again (if it was tied off),
tie down the antron strands and cut the waste. |
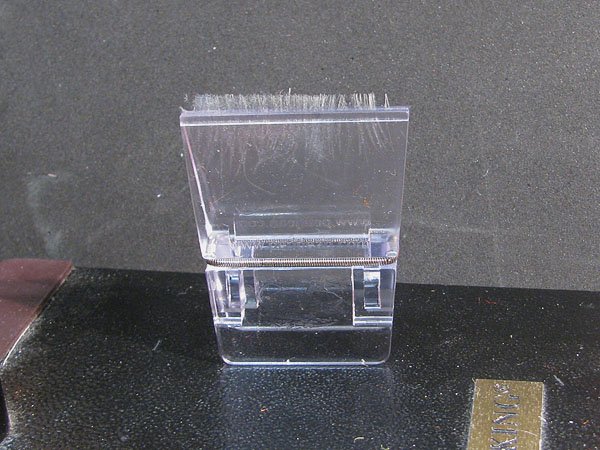
Step 16
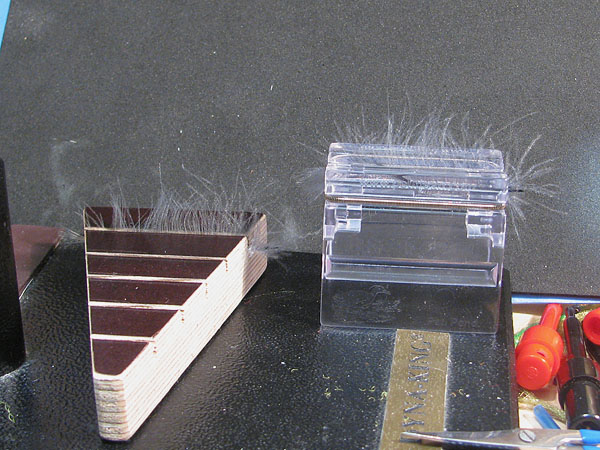
|
Prepare a CDC feather by doubling it. Here are
two examples of tools made for this purpose, Kenneth Svensson's CDC-board (left) and Marc Petitjean's Magic Tool (right). |
Step 17
|
Lift the feather up in a clamp of some sort and cut the
stem from the barbs. |
Step 18
|
Prepare a dubbing loop and place the barbs
between the threads. Splitting the thread and placing them between the two halves works as well. |
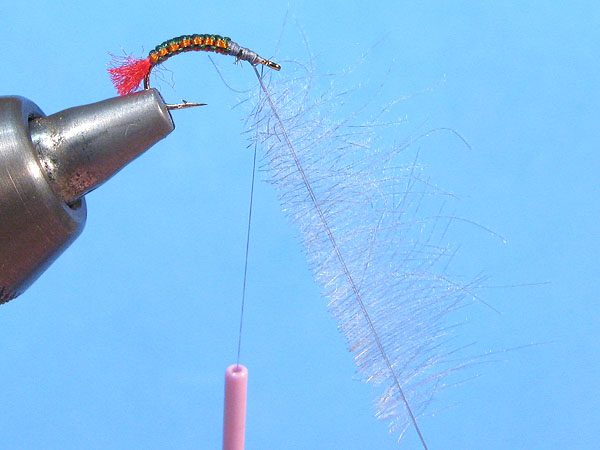
Step 19
|
Spin the loop and create a "CDC-hackle". |
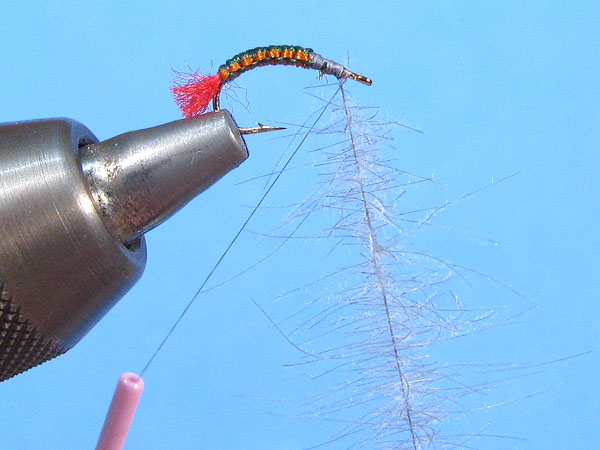
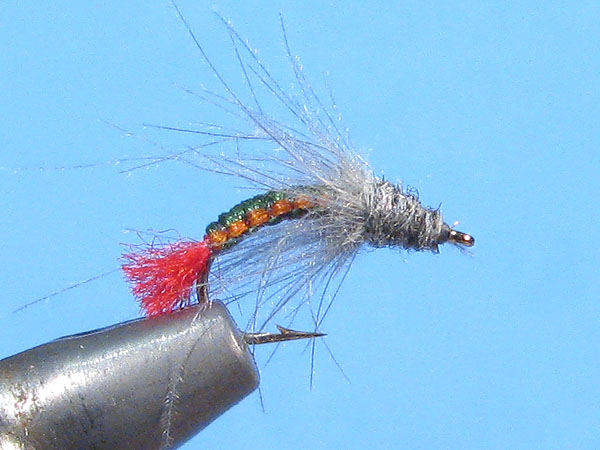
Step 20
|
Wrap the CDC around the rear 2/3 of the abdomen.
Stroke the longer fibres backwards for each wrap. |
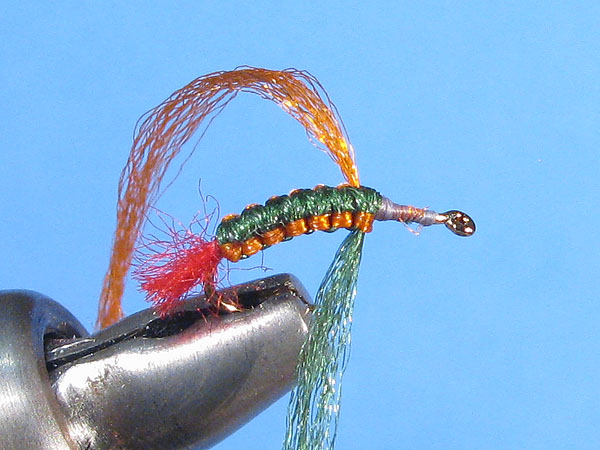
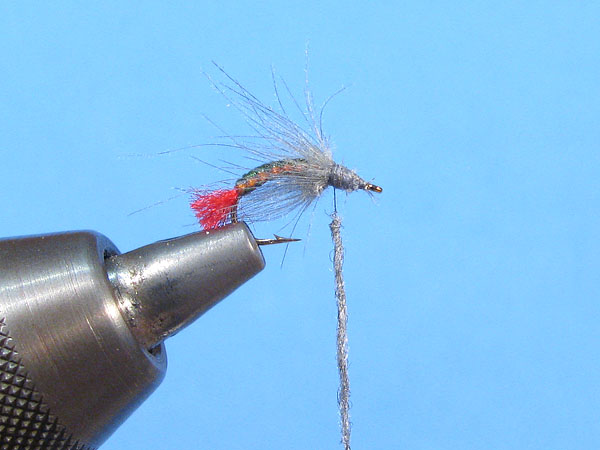
Step 21

|
Tie down the loop, cut as much of the waste as
possible and cover the rest with thread, shaping a tapered underbody for the thorax. |
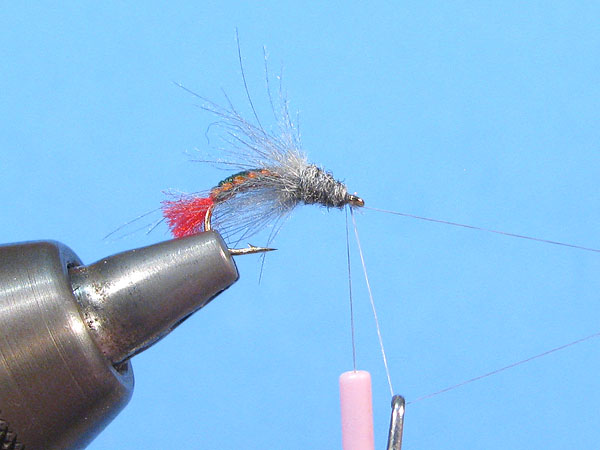
Step 22
Step 23
|
Cover the underbody with dubbing. |
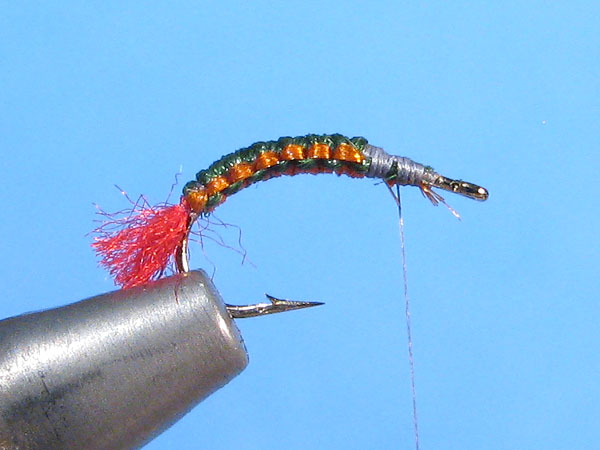
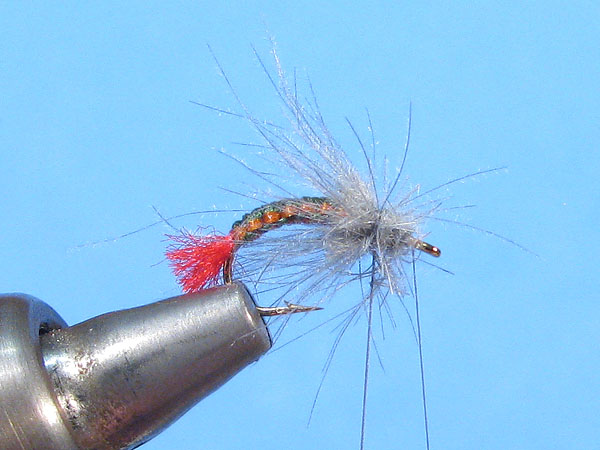
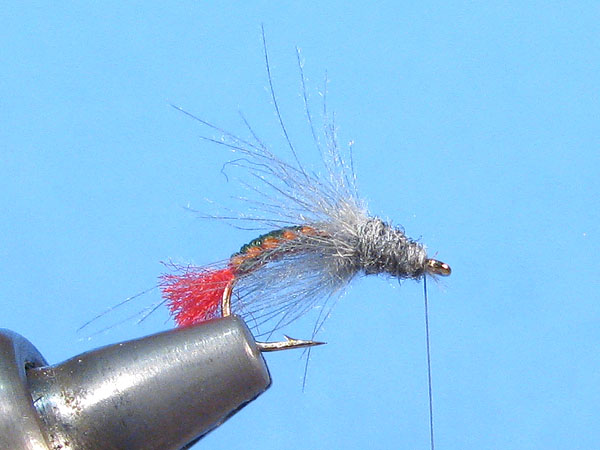
Step 24
|
Finish the fly with a couple of whip-finish knots. |
DONE!!!
|