


|
A step at a time:
ROYAL WULFF
PDF print version
| Hook: |
Dry fly, #10-16 |
|
Thread: |
Gudebrod 8/0 |
|
Tail: |
Moose body hairs |
|
Body: |
Peacock herl |
|
Waist: |
Rayon floss, red |
|
Wings: |
Calf body hairs |
|
Hackle: |
Rooster, brown |
(Full-size pictures on click.)
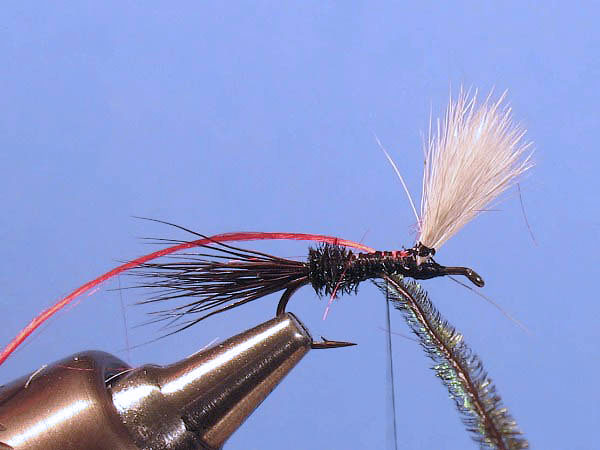
Step 1
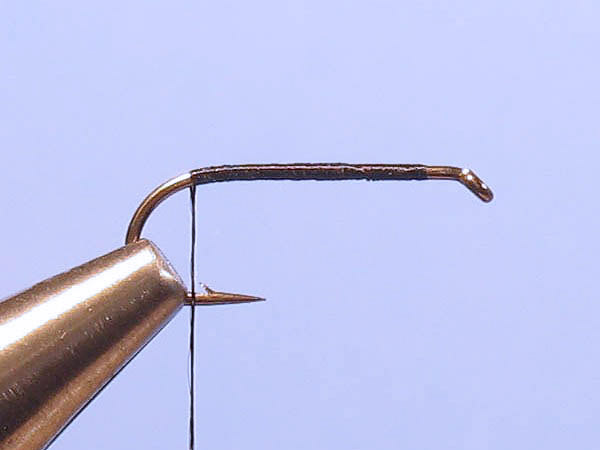
|
Mount a hook
in the vise and cover the shank with thread. |
Step 2
|
Prepare a
bunch of moose body hair for tail. Tail length should be
equal to the length of the fly body (abdomen + hackle base). |
Step 3
|
Tie in the
tail and cut the waste. |
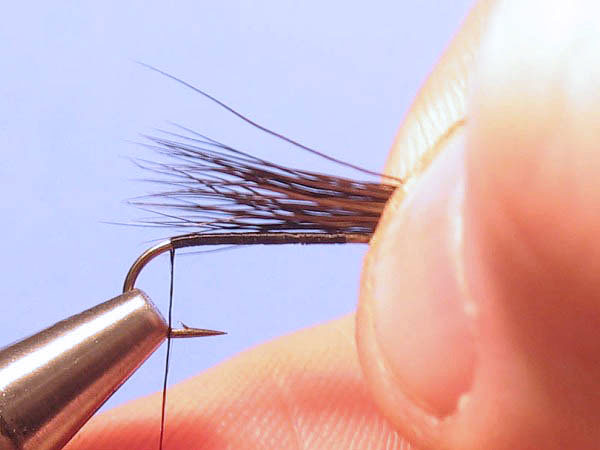
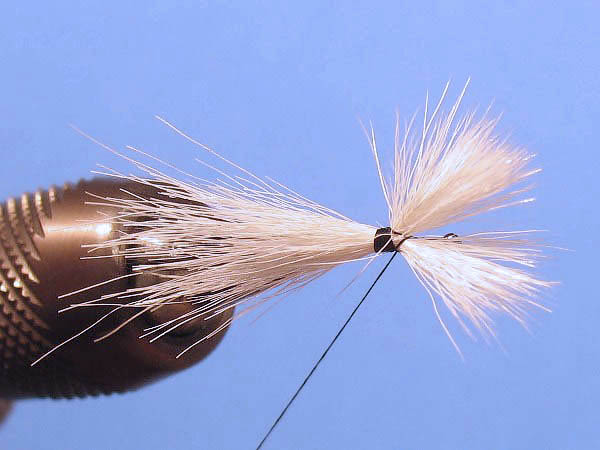
Step 4
|
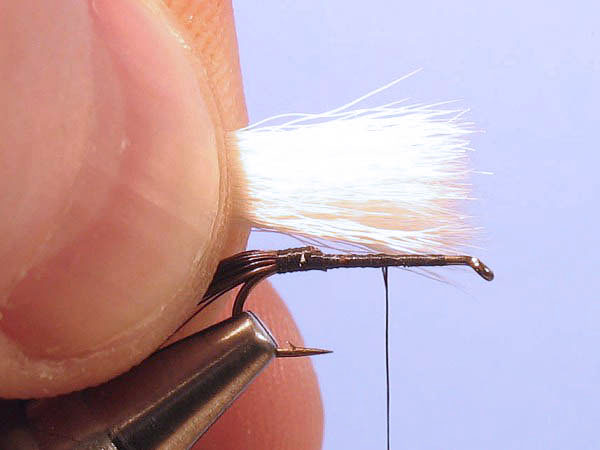
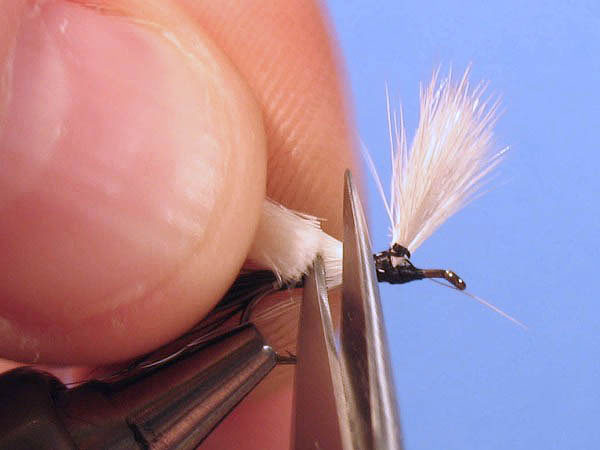
Prepare a
bunch of body hairs from calf. The bunch should be even in
the tips and thick enough to make two wings. |
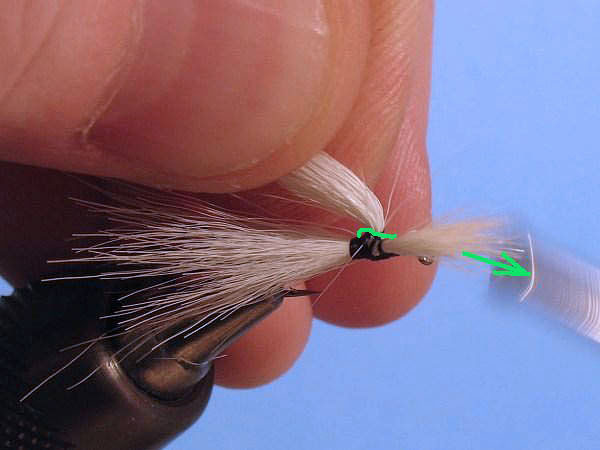
Step 5
|
Tie in the
bunch tightly and not too close to the hook eye. The wing
will take up some extra space forward when it’s raised and
there should still be room left for both hackle and a head. |
Step 6

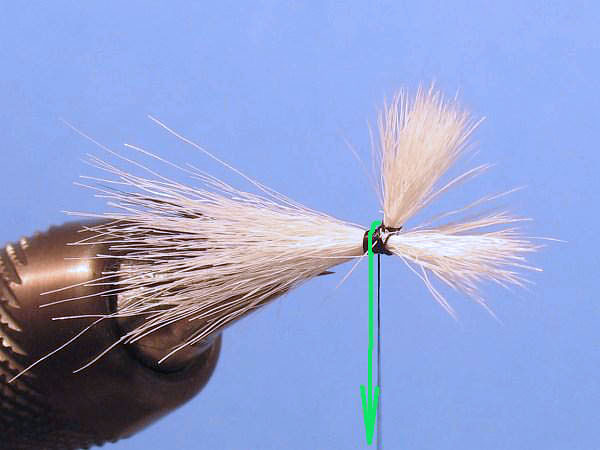
|
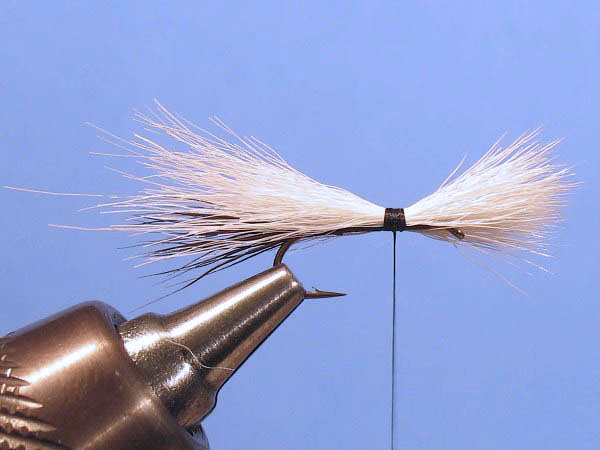
Bend the
wing upwards as hard as possible. Press a little against the
base of the wing to flatten it. |
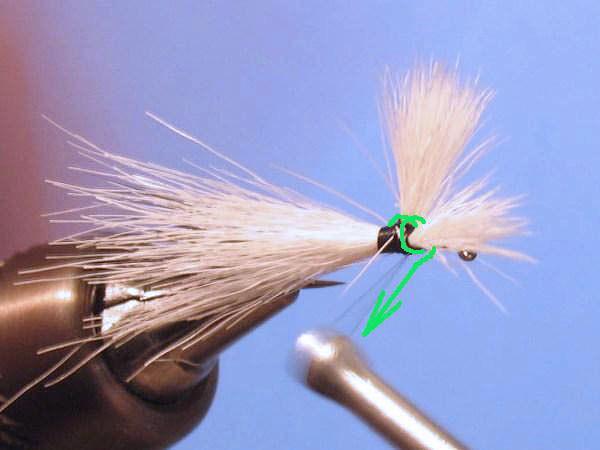
Step 7
|
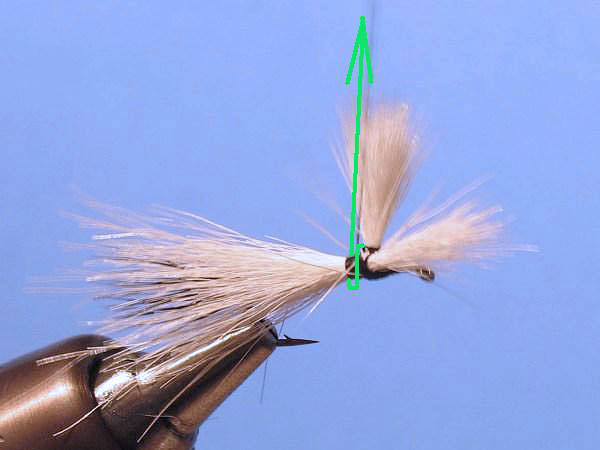
Build up a
little clump with tying thread, immediately against the wing
base. It’s only supposed to keep it flattened, so it doesn’t
have to be a really thick one. The wings will be raised more
later. |
Step 8

|
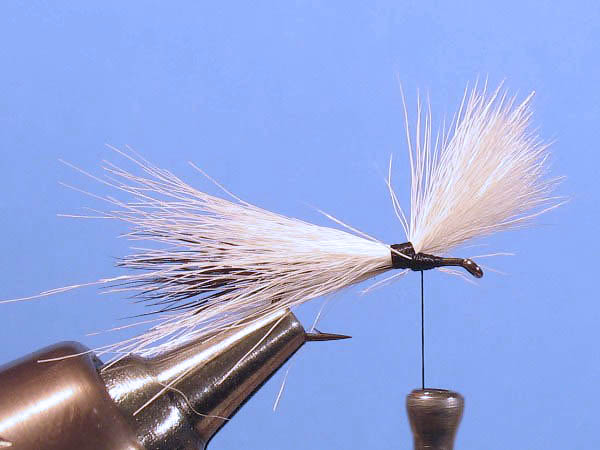
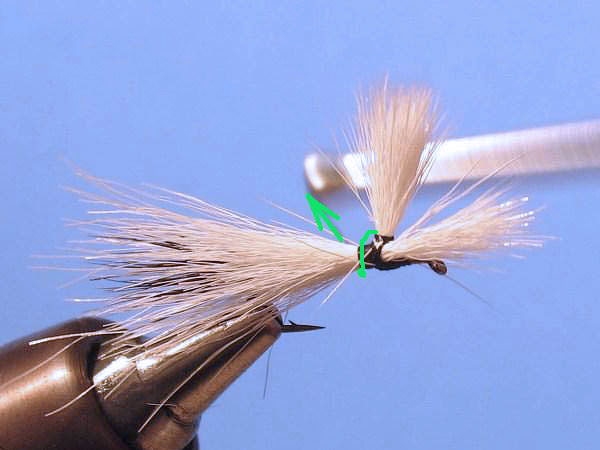
From above:
Using your thumb, press hard against the base of the bunch
so that the hairs spread out from side to side. This way
makes it easy to determine the centre so we can split the
bunch into two equally thick wings. |
Step 9
|
Split the
bunch with your bodkin and make a diagonal thread wrap
forward between the wings. |
Step 10
|
Make another
diagonal thread wrap between them but this time from front
to rear, a so called "figure 8" wrap. We are going to divide
them further, but this is enough to keep them in two parts. |
Step 11
|
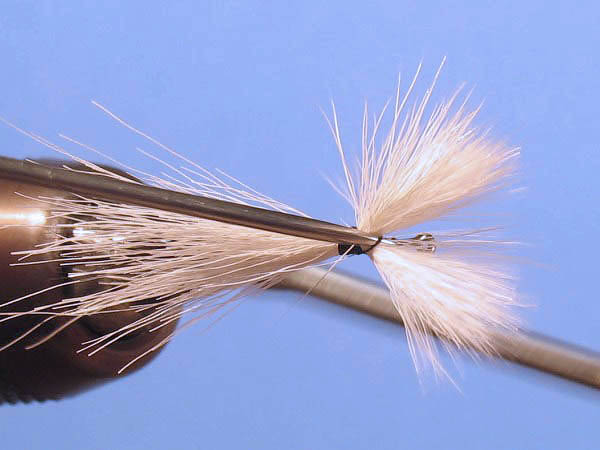
The thread
has again been brought forward between the wings and two
counter clockwise wraps have been made around the base of
the wing on the far side of the fly. This gathers the hairs
more efficiently than only figure 8 wraps. The thread has
then been brought from behind the wing to the near side of
the hook. In other words: To the wrong side of the
hook. |
Step 12

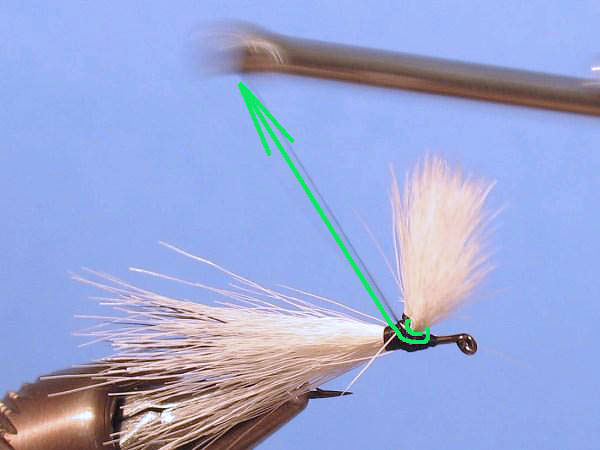
|
Lift the
thread and pull it backwards in an angle towards you. By
changing pressure and angle of the thread you can now easily
adjust how much and in what angle you want to raise the
wing. |
Step 13
|
When you are
happy with the angle, bring the thread down on the near side
of the hook, keeping the pressure on it. Make a wrap in the
"wrong" direction so that the wing stays in the angle you
desired. |
Step 14
|
Now we are
going to do the same thing, only in the other direction.
Lift the thread straight up on the far side of the hook. |
Step 15
|
Bring the
thread diagonally forward between the wings, this time
towards you. |
Step 16
|
Immediately
make a couple of wraps around the wing base, this time
clockwise. |
Step 17
|
Adjust the
angle of the wing by pulling the thread backwards in an
angle from you. |
Step 18
|
When you’re
happy with it, bring the thread down on the far side of the
hook and secure with another wrap. Now the thread is back on
the "right" side and we can continue to wrap as usual again. |
Step 19
|
To even out
some of the bulk from the tail, we will cut the waste from
the wing material at the same point as we cut the waste from
the tail material. |
Step 20
|
Well I said
"some of it". Obviously it didn’t turn out perfect this
time, but it is still much more even than it would have been
if the materials hadn’t been meeting eachother under the
thread. |
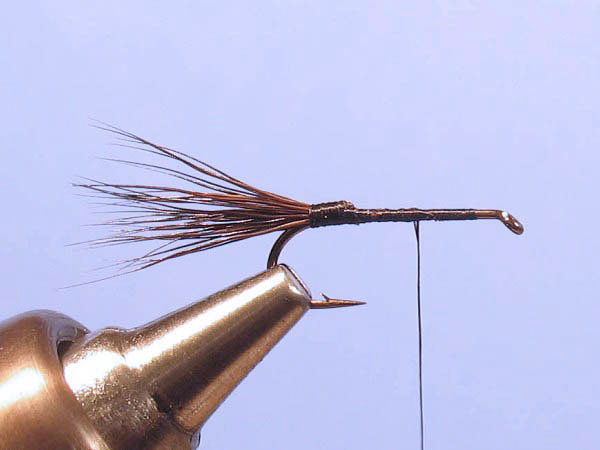
Step 21
|
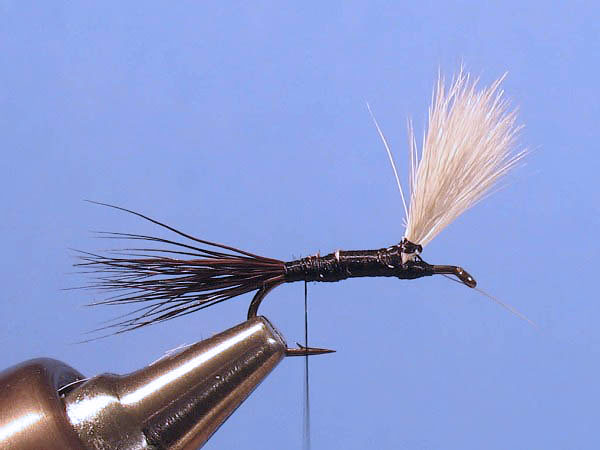
Tie in two
peacock herls in their tip ends. |
Step 22
|
Wrap the
herls together with the thread 2-3 turns forward and tie
them down somewhere above the hook point. Continue to wrap
the thread forward 2-3 mm’s in touching turns, covering the
herls. Leave the herls hanging. |
Step 23
|
Tie in a
piece of floss, not too thick as it’s going to be wrapped in
two layers. |
Step 24
|
Wrap the
floss back to the edge of the peacock herl and then wrap it
back to the tie-in point. Tie it down and cut the waste. |
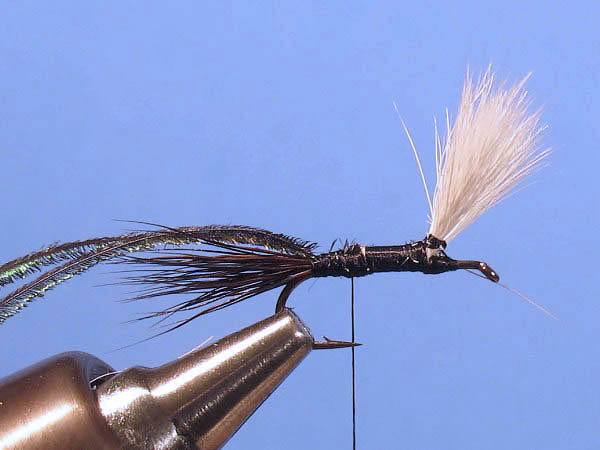
Step 25
|
Make a
second herl section in the same way as the rear one. Save a
little space behind the wing for the hackle. This kind of
body is what makes it into a "Royal". The very same herl/floss/herl
construction can be found also on other flies, such as Royal
Trude, Royal Coachman and Royal Stimulator. |
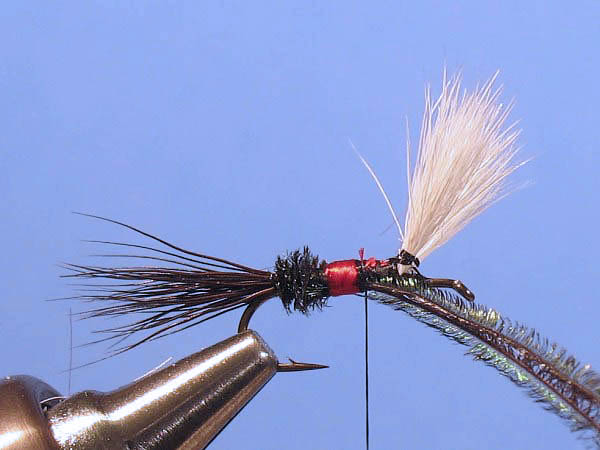
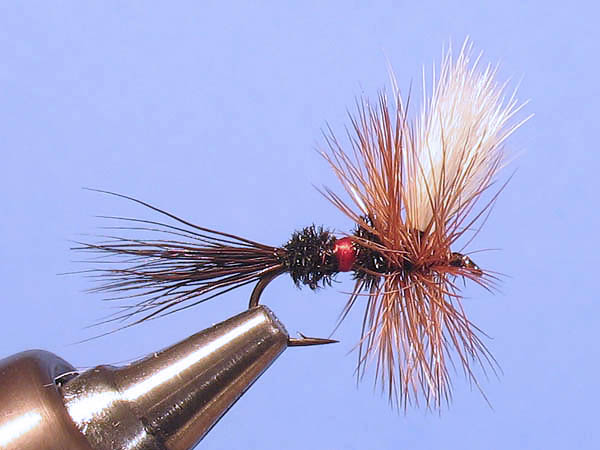
Step 26
|
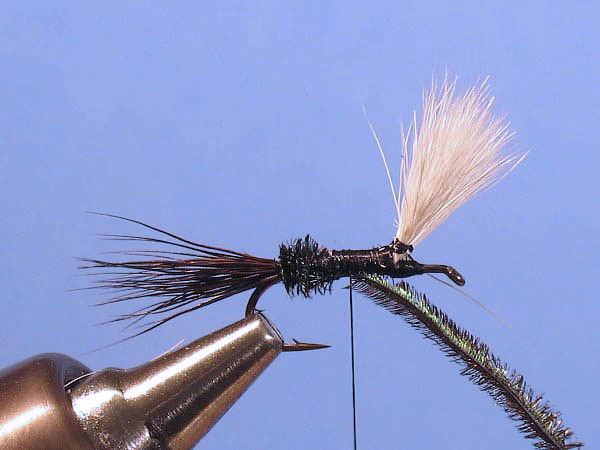
Tie in a
brown rooster hackle with the dull side up. |
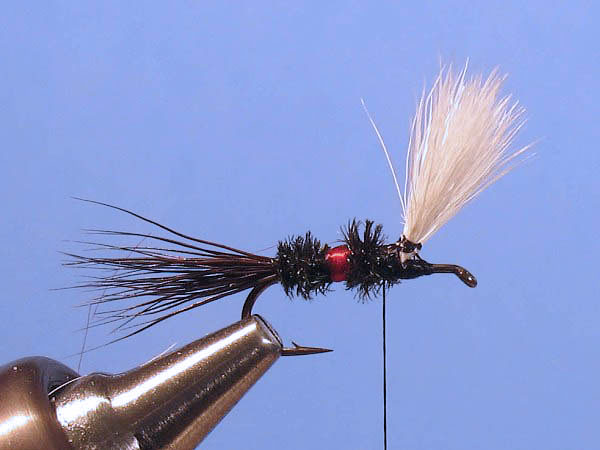
Step 27
|
Wrap the
hackle 2-3 turns behind the wing followed by 3-4 turns in
front of them. Tie it down and cut the waste. |
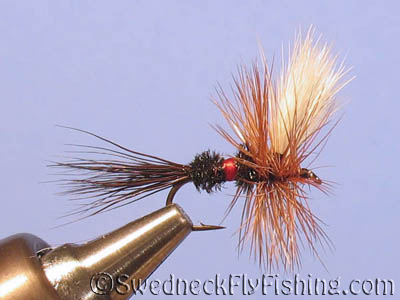
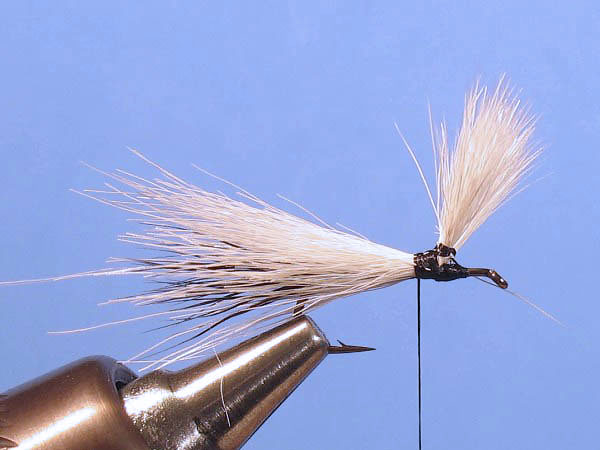
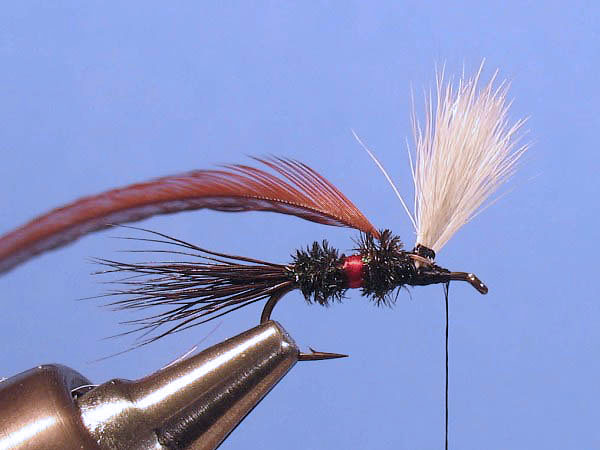
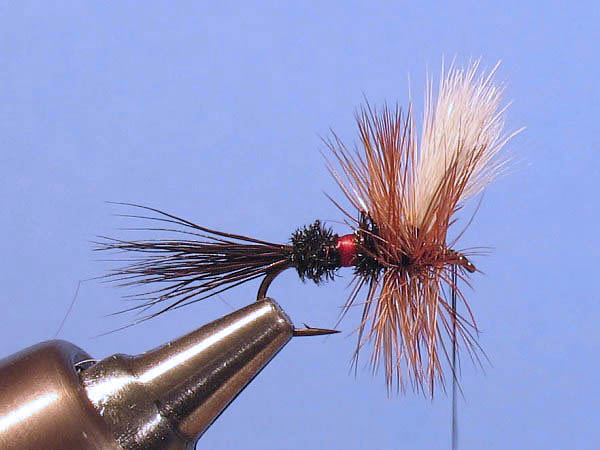
Done...
|
A little
head and a whip-finish later… and it’s done. Only the looks
of these makes it worth to have a few in the box. It sure is
a beautiful pattern and they give some extra color to the
flybox. |
|